
How to stop Windows 11 from turning off your computer screen
If your PC screen keeps shutting down after just a few minutes of inactivity, you don’t have to keep constantly moving your mouse or tapping your keyboard just to wake it back up. Windows provides simple, built-in controls to customize exactly how your monitor behaves when you step away from your desk. This step-by-step tutorial will show you how to stop Windows 11 from turning off your computer screen automatically. Whether you are using a laptop on battery power or a desktop setup, follow along to easily adjust your display timeout limits.
How to change screen timeout settings in Windows 11
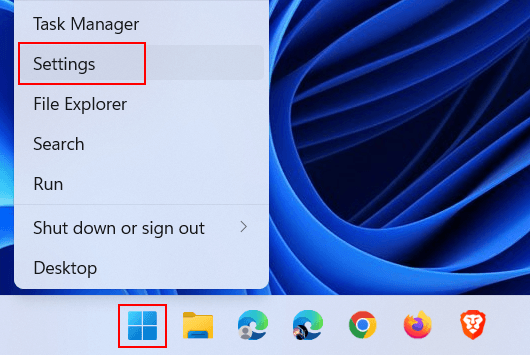
- Right-click on the Windows start menu button.
-
Click Settings.
-
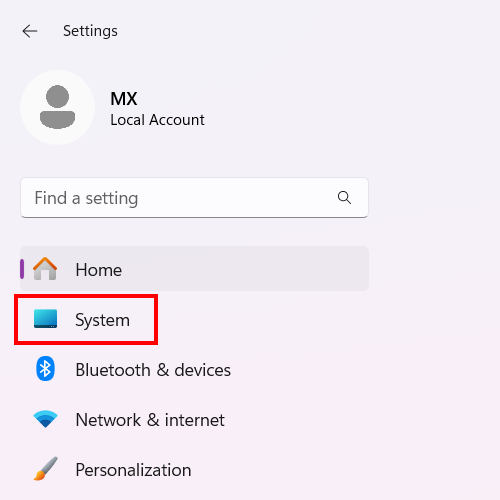
Click System in the left menu.
-
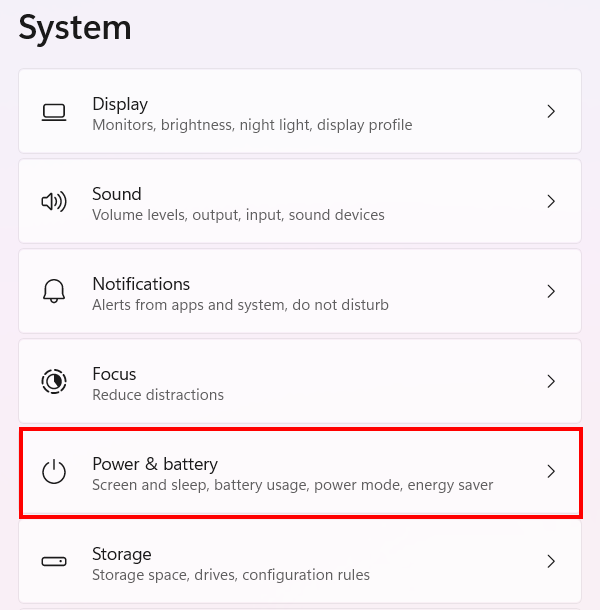
Click Power & battery on the right side.
-
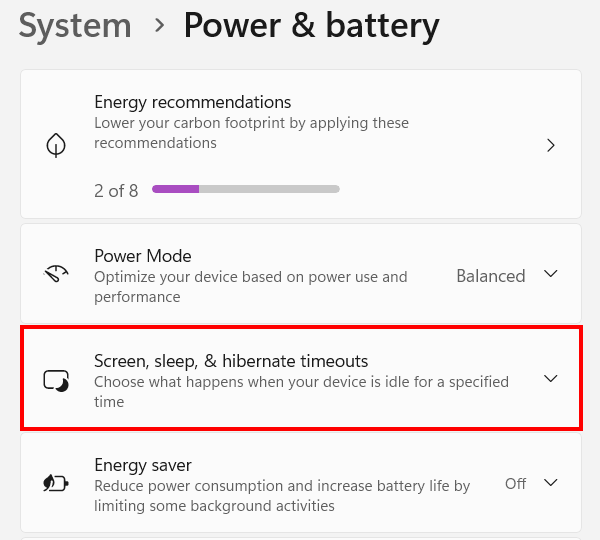
Click Screen, sleep, & hibernate timeouts.
-
Ensure that Never is selected for all options.
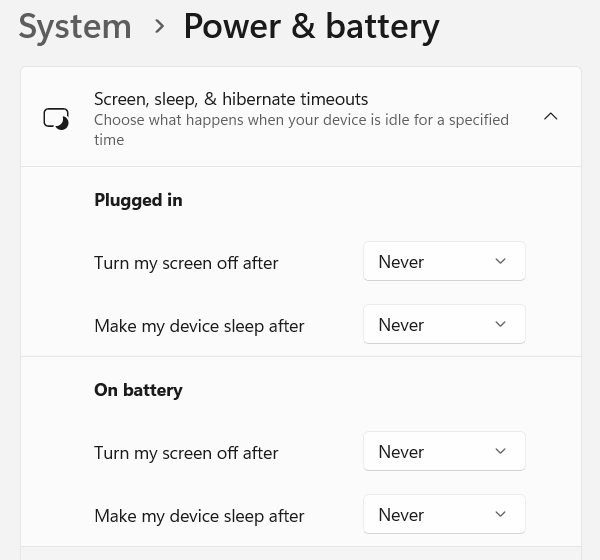
- Close settings.
Windows 11 will no longer turn off your computer screen automatically.
Related:
How to keep laptop running with lid closed in Windows 11 & 10
How to disable the power button in Windows 11 (and 10)