How to fix 'SFC unable to fix corrupt files' in Windows 10 and 11
This step-by-step tutorial will show you how to fix the 'sfc scannow found corrupt files unable to fix some of them' problem in Windows 10 and 11.
Try the solutions on this page when you get the following error message: 'Windows Resource Protection found corrupt files but was unable to fix some of them. Details are included in the CBS.Log' when running the sfc /scannow command in Windows 10 or 11.
Windows Resource Protection found corrupt files but was unable to fix some of them. Details are included in the CBS.Log windir\Logs\CBS\CBS.log. For example C:\Windows\Logs\CBS\CBS.log. Note that logging is currently not supported in offline servicing scenarios.
Solution 1: DISM
-
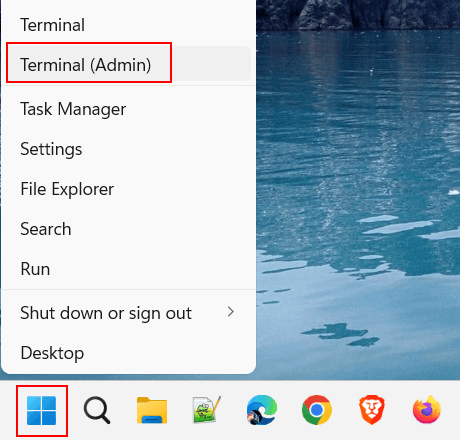
Right-click on the Windows start menu button.

-
Click on Command Prompt (Admin) or Terminal (Admin) (Windows 11).
- If the 'User Account Control' window appears, you click Yes. Depending on your settings, you may need to enter your administrator password first and then click Yes.
-
In the Command Prompt or Terminal window, you type (or copy and paste) the following command:
DISM.exe /Online /Cleanup-image /Restorehealth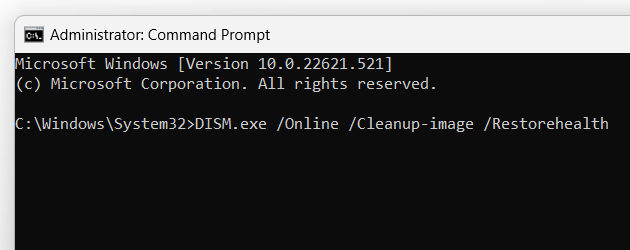
- Press the Enter key on your keyboard.
This process may take a few minutes to start and complete. At 99.9%, it may look like the process is stuck, but that's normal. Don't worry about it. It will work. Just be patient and wait till the command is 100% complete.
-
After you see a message that says 'The operation completed successfully', you type the following command:
sfc /scannow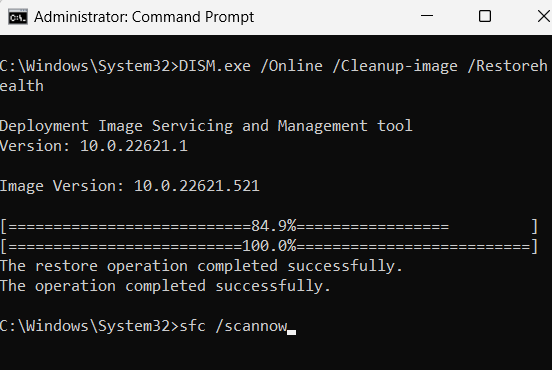
- Press the Enter key on your keyboard.
Solution 2: Start Windows in 'Safe Mode'
-
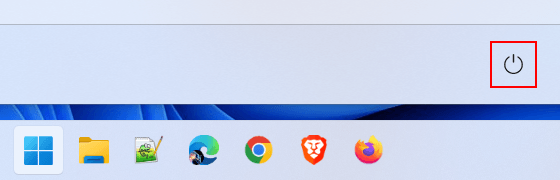
Click on the Windows start menu button.
-
Click on the power button.
- Press and hold the Shift key on your keyboard.
-
Click on Restart.
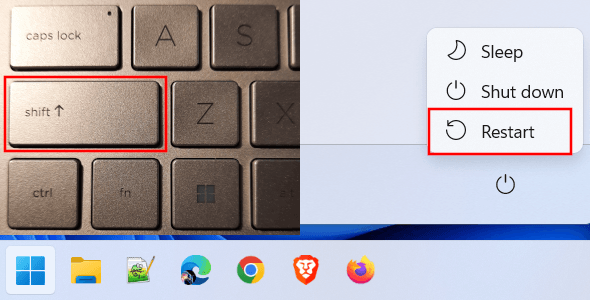
- Release the Shift key.
- In the menu, you click on Troubleshoot.
- Click on Advanced options.
- Click on Startup Settings.
- Click on Restart.
- When the 'Startup Settings' screen appears, you press the 5 key on your keyboard for Safe Mode with Networking.
- Log into Windows.
-
Right-click on the Windows start menu button.
-
Click on Command Prompt (Admin) or Terminal (Admin) (Windows 11).
- If the 'User Account Control' window appears, you click Yes. Depending on your settings, you may need to enter your administrator password first and then click Yes.
-
In the Command Prompt or Terminal window, you type the following command:
sfc /scannow - Press the Enter on your keyboard.
Solution 3: DISM and Windows ISO
Windows 10
It's important to wait until a command is 100% complete before running the next command.
- Go to https://www.microsoft.com/en-us/software-download/windows10/.
- Click on Download now.
- Open the media creation tool you've just downloaded.
- Click on Accept.
- Select Create installation media (USB flash drive, DVD, or ISO file) for another PC.
- Click on Next.
- Make sure the correct language, edition, and architecture is selected.
- Click on Next.
- Select ISO file.
- Click on Next.
- Select a location on your PC where you want to save the Windows.iso file.
- Click on Save.
The media creation tool will now download the Windows 10 iso file.
The download may take a while. The time it takes depends on your Internet connection speed and Microsoft's servers.
- When the download is ready, you unzip (extract) the ISO file with a file archiver program like 7-Zip, WinRar, or WinZip.
- Open the sources folder of your unzipped (extracted) ISO file.
- In the sources folder, you will find an install.wim file. Copy this file to your desktop.
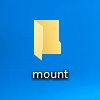
-
Create a new folder on your desktop and name it mount.
- Right-click on the Windows start menu button.
- Click on Command Prompt (Admin).
- If the 'User Account Control' window appears, you click Yes. Depending on your settings, you may need to enter your administrator password first and then click Yes.
-
Type (or copy and paste) the following command:
Dism /mount-wim /wimFile:%USERPROFILE%\Desktop\install.wim /index:1 /MountDir:%USERPROFILE%\Desktop\mount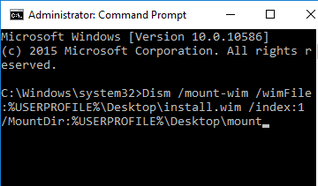
- Press the Enter key on your keyboard.
-
Wait till the process is complete, and then type (or copy and paste) the following command:
Dism /Online /Cleanup-Image /CheckHealth - Press Enter.
-
Wait till the process is complete, and then type (or copy and paste) the following command:
Dism /Online /Cleanup-Image /RestoreHealth /Source:%USERPROFILE%\Desktop\mount\windows /LimitAccess - Press Enter.
This process may take 5 to 10 minutes. At 20%, it will look like the process is stuck (frozen), but that's normal. Don't worry about it. It will work. Just be patient and wait till the command is 100% complete.
-
Wait till the process is complete, and then type (or copy and paste) the following command:
Dism /unmount-wim /Mountdir:%USERPROFILE%\Desktop\mount /discard - Press Enter.
Note: When you're trying to unmount your wim image and you get an error like 0xc1420127, then try the following command:
Dism /cleanup-wim
-
Now it's time to re-run the
sfc /scannowcommand, so type (or copy and paste) the following command:sfc /scannow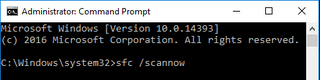
- Press Enter.
Windows 11
It's important to wait until a command is 100% complete before running the next command.
- Open your browser (e.g., Google Chrome or Microsoft Edge).
- Go to https://www.microsoft.com/software-download/windows11.
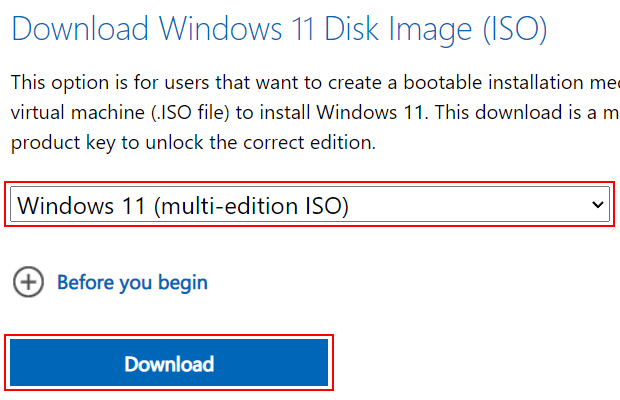
- Scroll down to the 'Download Windows 11 Disk Image (ISO)' section.
- Click on the selection menu button that says 'Select Download'.
- Select Windows 11 (multi-edition ISO).
-
Click on Download.
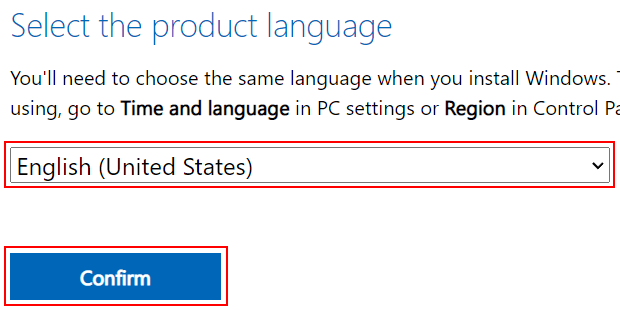
- Select the same product language as your current Windows.
-
Click on Confirm.
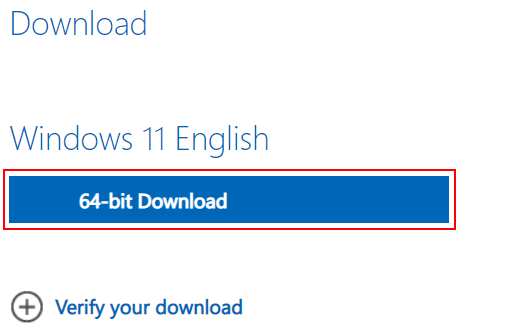
-
Click on 64-bit Download to download the Windows 11 ISO file.
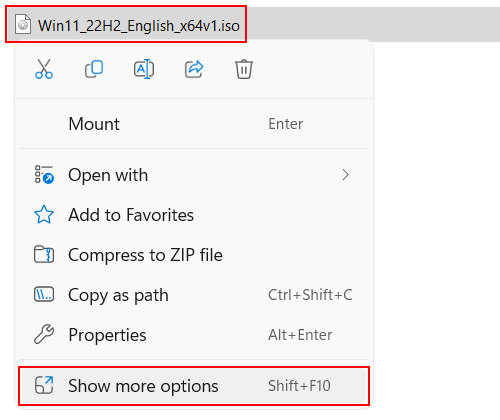
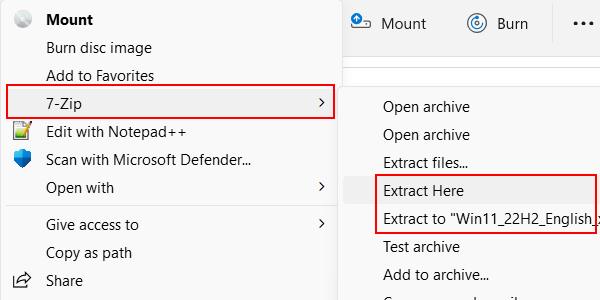
- When the download is complete, you'll have to unzip (extract) the ISO file with a file archiver program like 7-Zip (free and open source). To do so, right-click on the ISO file.
-
Click on Show more options.
- Go to 7-Zip.
-
Click on Extract to 'Win11_22H2_...' or Extract Here.
-
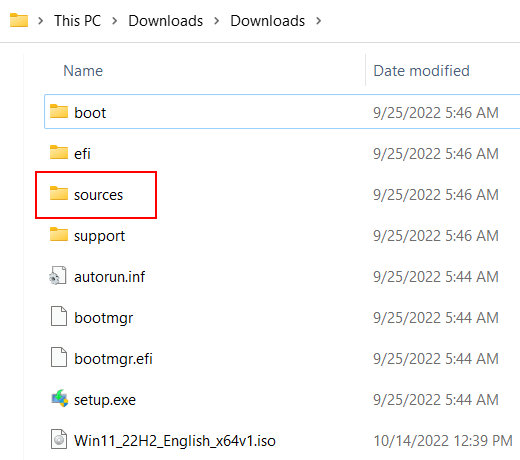
Open the sources folder of the unzipped (extracted) ISO file.
-
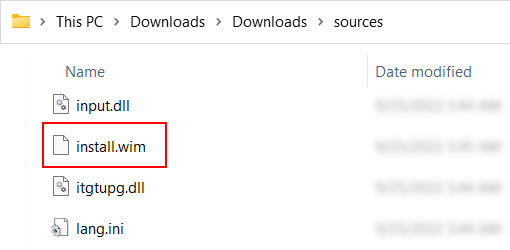
In the sources folder, you will find an install.wim file. Copy this file to your desktop.
-
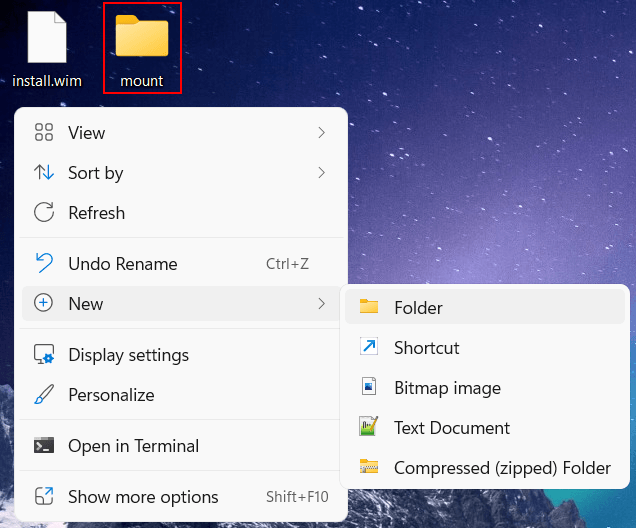
Create a new folder on your desktop and name it mount.
- Right-click on the Windows start menu button.
- Click on Command Prompt (Admin) or Terminal (Admin).
- If the 'User Account Control' window appears, you click Yes. Depending on your settings, you may need to enter your administrator password first and then click Yes.
-
In the Command Prompt or Terminal window, you type (or copy and paste) the following command:
Dism /mount-wim /wimFile:%USERPROFILE%\Desktop\install.wim /index:1 /MountDir:%USERPROFILE%\Desktop\mount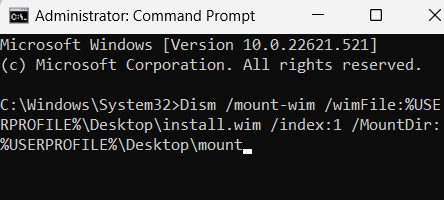
- Press the Enter key on your keyboard.
- Wait till the process is complete.
-
Type (or copy and paste) the following command:
Dism /Online /Cleanup-Image /CheckHealth - Press Enter.
- Wait till the process is complete.
-
Type (or copy and paste) the following command:
Dism /Online /Cleanup-Image /RestoreHealth /Source:%USERPROFILE%\Desktop\mount\windows /LimitAccess - Press Enter.
- Wait till the process is complete. This process may take 5 to 10 minutes. At 20%, it will look like the proces is stuck (frozen), but that's normal. Don't worry about it. It will work. Just be patient and wait till the command is 100% complete.
-
Type (or copy and paste) the following command:
Dism /unmount-wim /Mountdir:%USERPROFILE%\Desktop\mount /discard - Press Enter.
Note: When you're trying to unmount your wim image and you get an error like 0xc1420127, then try the following command:
Dism /cleanup-wim
-
Now it's time to re-run the sfc /scannow command, so type the following command:
sfc /scannow - Press Enter.
System File Checker
System File Checker is a built-in Windows tool to scan and repair missing or corrupted system files.
If system files are missing or corrupted, the Windows operating system may not behave as expected, some of its functions may not work, or it could crash.
You can run this tool with the sfc /scannow command in Windows Command Prompt or Terminal.
DISM
Deployment Image Servicing and Management (DISM) is a command-line tool that can fix component store corruption that prevents the System File Checker from working correctly.