How to crop an image into a circle shape on Canva using this simple trick
While there’s no direct way to crop an image into a circle shape on Canva, you can easily achieve a perfect round cut using a simple frames trick. Follow this quick, step-by-step guide to round your photos in seconds.
- Create a new design or open an existing one.
-
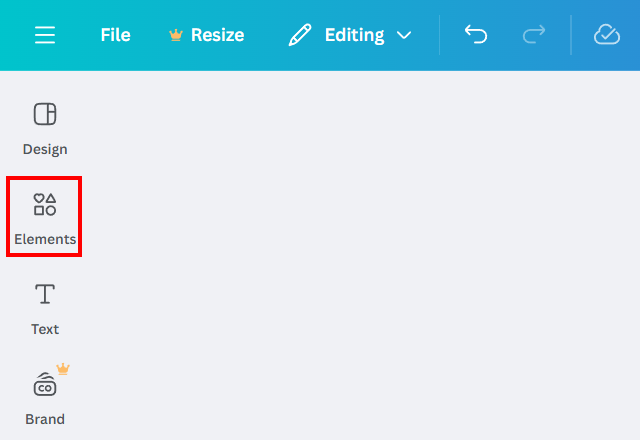
Click Elements in the left menu.
-
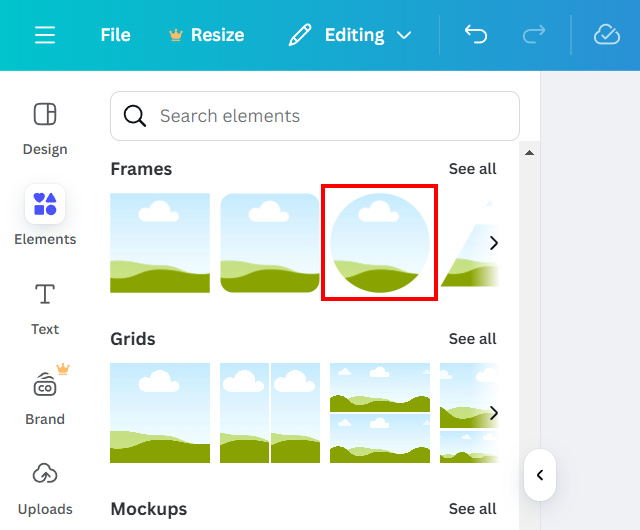
Find a round frame and click on it.
-
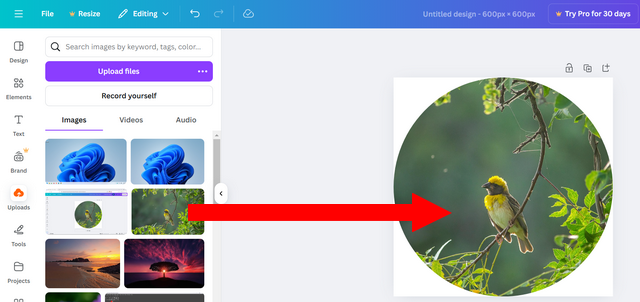
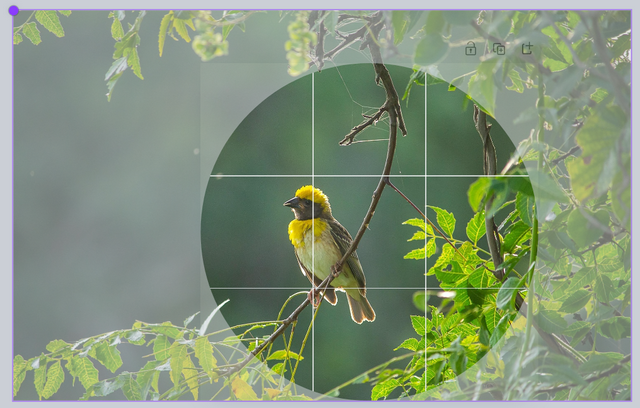
Drag and drop the image you want to crop into the round frame.
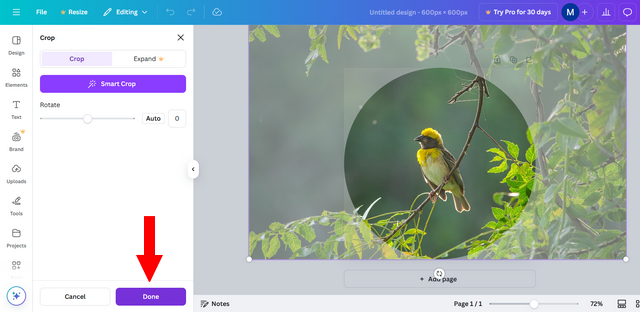
- To reposition the image, double-click on it.
-
You can now reposition and also enlarge the image.
-
Click Done to save it.