How to burn any video file to a playable DVD
These step-by-step tutorials will show you how to burn any video file to a playable DVD on Windows 10 and 11.
The steps on this page work for MP4, MKV, AVI, and other video files.
DVD players and video formats
There are many video formats, such as MP4, MKV, AVI, WMV, MOV, FLV, and others. Most modern DVD players support these formats, but some also only support one.
How to burn any video file to a playable DVD using ConvertXtoDVD
ConvertXtoDVD is a program for converting and burning video files to DVDs that will play on any DVD player. It's user-friendly and has some great features to get a fully working DVD in no time. You can try ConvertXtoDVD for free for 7 days.
Note: You can also burn multiple videos to one DVD, but the amount of video files you can burn to a single DVD depends on the file size of your videos and the capacity of your DVD.
Tip: If you want to add subtitles to your DVD, place the subtitle file in the same folder as the video file and make sure the subtitle file has the same file name as the video file (e.g., MovieName.mp4, MovieName.srt).
- Insert a blank DVD into the DVD burner drive of your PC.
- Open ConvertXtoDVD.
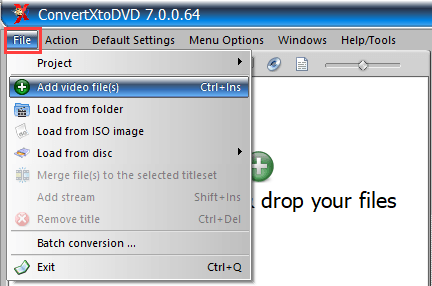
- Click File in the top left corner.
-
Click Add video file(s).
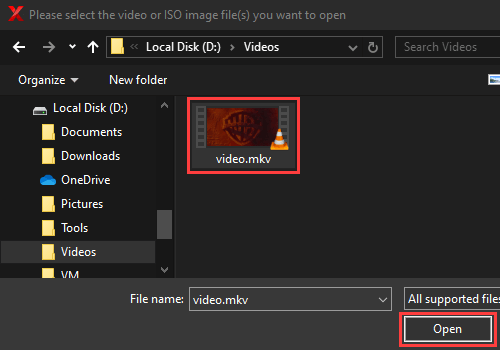
- In the next window, you go to the location on your computer where the video file is that you want to burn to DVD.
- Select the video file.
-
Click on Open.
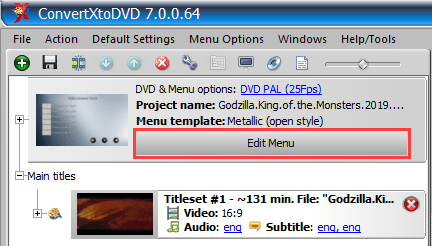
-
To edit the DVD menu, click Edit Menu.
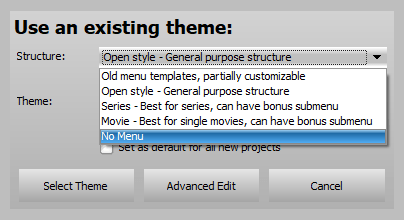
-
If you don't want a menu, select No Menu at Structure.
- Click Default Settings located in the top menu.
-
Click Output format.

-
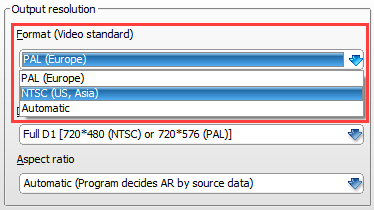
At Format (Video Standard), you make sure the correct video format is selected. NTSC or PAL. The video format depends on the country and region you live in.
-
Click Convert at the bottom.
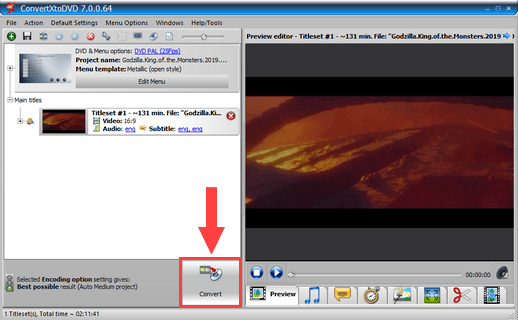
ConvertXtoDVD will convert your video to DVD format and then burn the video to a playable DVD. This may take a while, depending on your computer's hardware and software, the maximum speed capacity of your DVD, and the video's file size.
How to burn any video file to a playable DVD using WinX DVD Author
WinX DVD Author is free DVD author software that allows you to convert and burn any video to a playable video DVD that will play on any DVD player.
Note: You can also burn multiple videos to one DVD, but the amount of video files you can burn to a single DVD depends on the file size of your videos and the capacity of your DVD.
Tip: If you want to add subtitles to your DVD, place the subtitle file in the same folder as the video file and make sure the subtitle file has the same file name as the video file (e.g., MovieName.mp4, MovieName.srt).
- Insert a blank DVD into the DVD burner drive of your PC.
- Open WinX DVD Author.
-
Click on Video DVD Author.

-
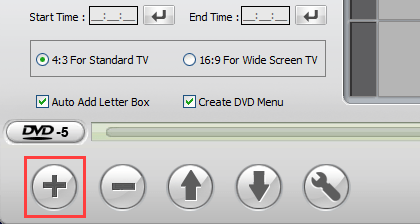
Click on the (+) button in the bottom left corner.
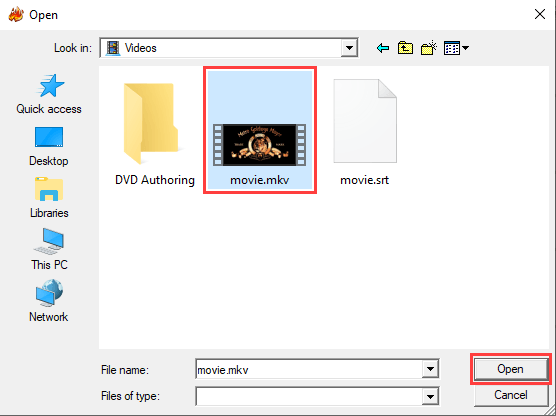
- In the next window, you go to the location on your computer where the video file is that you want to burn to DVD.
- Select the video file.
-
Click on Open.
-
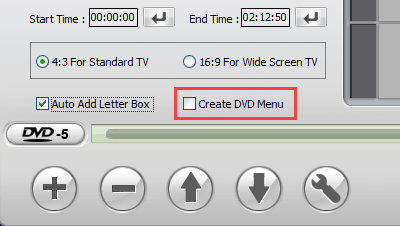
If you don't want to add a menu to your DVD, uncheck the Create DVD Menu option.
-
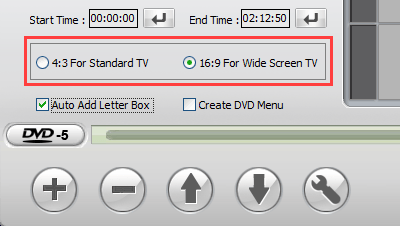
Select the correct aspect ratio. 4:3 or 16:9. Most TVs sold today have an aspect ratio of 16:9.
- Click the double-arrow (❱❱) button to continue.
- If you chose to add a menu to your DVD and thus did not uncheck the Create DVD Menu option, then you can now create the DVD menu (e.g., background, buttons, chapter menu, etc.).
- When you're done with the DVD menu, click the double-arrow (❱❱) button to continue.
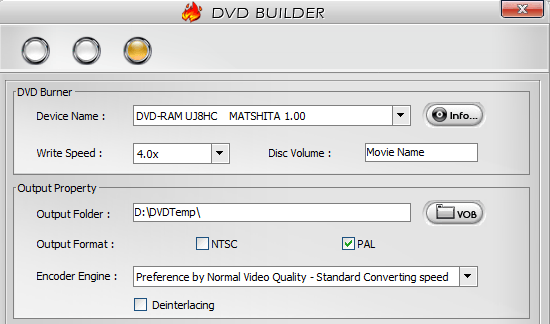
- In the next window, you make sure the DVD-writer of your PC is selected at Device Name.
- At Write Speed, you can select the burning speed. The top speed depends on your DVD burner and DVD. But I recommend a speed of 4x or 6x as it reduces the chance of a critical error.
- At Disc Volume, you can enter a label name for your disc.
- At Output Format, you make sure the correct video format is selected. NTSC or PAL. The video format depends on the country and region you live in.
-
At Encoder Engine, you can select the quality.
-
Click Start.
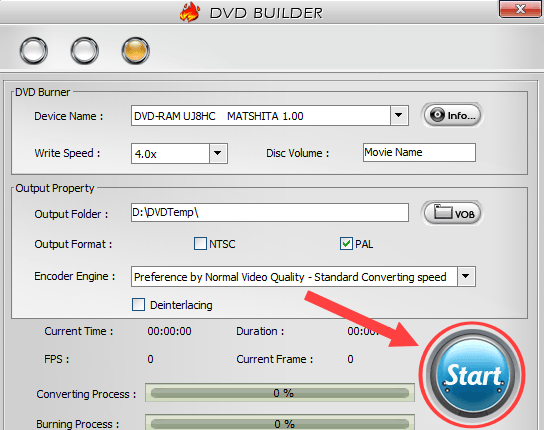
WinX DVD Author will convert your video to DVD format and then burn the video to a playable DVD. This may take a while, depending on your computer's hardware and software, the maximum speed capacity of your DVD, and the video's file size.
How to burn any video file to a playable DVD using DVD Flick
DVD Flick is free and open-source DVD authoring software that allows you to convert and burn any video to a playable DVD that will play on any DVD player.
Note: You can also burn multiple videos to one DVD, but the amount of video files you can burn to a single DVD depends on the file size of your videos and the capacity of your DVD.
Tip: If you want to add subtitles to your DVD, place the subtitle file in the same folder as the video file and make sure the subtitle file has the same file name as the video file (e.g., MovieName.mp4, MovieName.srt).
- Insert a blank DVD into the DVD burner drive of your PC.
- Open DVD Flick.
-
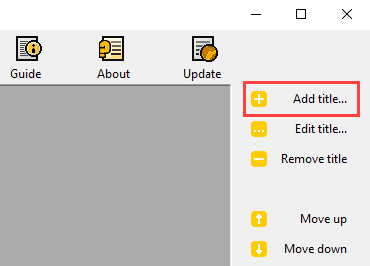
Click on Add title on the right side.
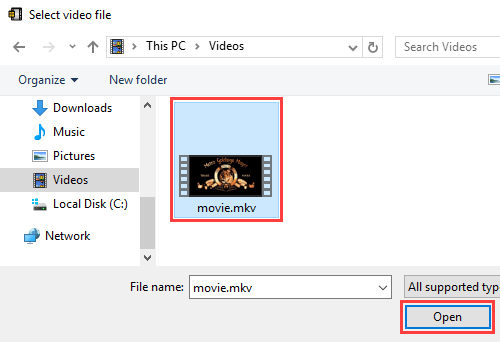
- In the next window, you go to the location on your computer where the video file is that you want to burn to DVD.
- Select the video file.
-
Click on Open.
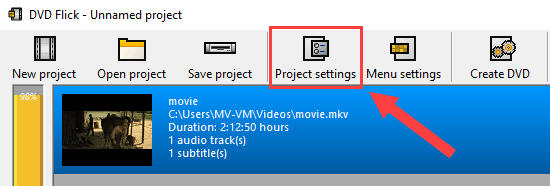
-
Click on Project settings in the top menu.
- You can change settings for every aspect of a DVD, including audio, video, playback, burning, and general settings. Most settings are good, but there are some settings you might want to change. On the General tab, give your disc a title, like the name of the movie.
-
At Target size, select the size of the disc you're going to burn to (e.g., DVD (4.3 GB)).
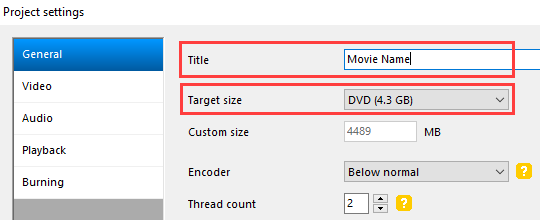
-
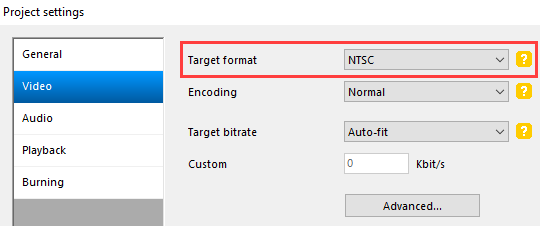
On the Video tab, at Target format, you make sure the correct video format is selected. NTSC or PAL. The video format depends on the country and region you live in. You can click on the [?] button for more information.
- On the Burning tab, you check the Burn project to disc option to burn directly to DVD after conversion.
- At Disc label, you can enter a label name for your disc.
- At Drive, you make sure the DVD-burner of your computer is selected.
-
At Speed, you can select the burning speed. The top speed depends on your DVD burner and DVD. But I recommend a speed of 4x or 6x as it reduces the chance of a critical error.

- Click Accept in the bottom right corner of the “Project settings” window to save the settings.
-
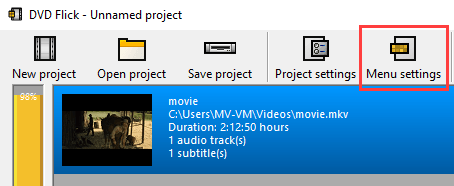
To edit the DVD menu, you click on Menu settings located in the top menu.
-
You will have the following options:
- On the left side, you can select a theme for your DVD menu
- Auto-play menu (if you want your DVD to start playing automatically)
- Show subtitle menu first
- Show audio menu first
- Click Accept in the bottom right corner of the “Menu Settings” window to save the settings.
-
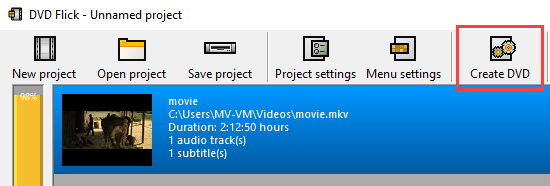
Click Create DVD in the top menu.
DVD Flick will convert your video to DVD format and then burn the video to a playable DVD. This may take a while, depending on your computer's hardware and software, the maximum speed capacity of your DVD, and the video's file size.
How to burn any video file to a playable DVD using QtlMovie
QtlMovie is a simple specialized graphical front-end to FFmpeg and other free media tools.
You can download QtlMovie here.
Tip: If you want to add subtitles to your DVD, place the subtitle file in the same folder as the video file and make sure the subtitle file has the same file name as the video file (e.g., MovieName.mp4, MovieName.srt).
- Insert a blank DVD into the DVD burner drive of your computer.
- Open QtlMovie.
-
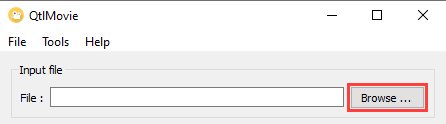
Click Browse.
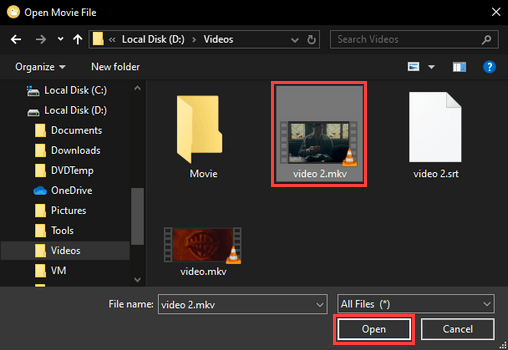
- In the next window, you go to the location on your computer where the video file is that you want to burn to DVD.
- Select the video file.
-
Click Open.
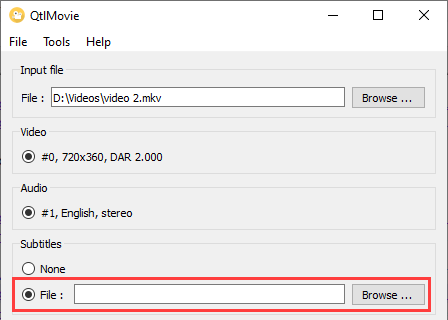
- If you want to add subtitles to your DVD, check the File option located under Subtitles. If you don't want to add subtitles, skip this step and continue with step 12.
-
Click Browse.
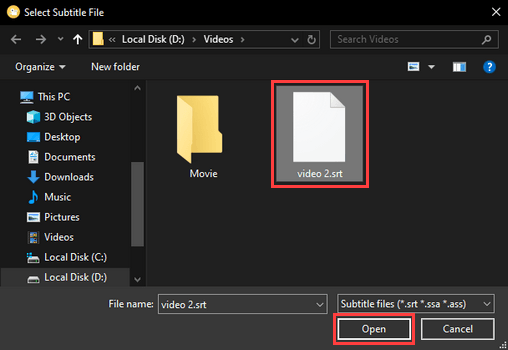
- Go to the subtitle file stored on your computer.
- Select the subtitle file.
-
Click Open.
-
At Output file, select Burn DVD.
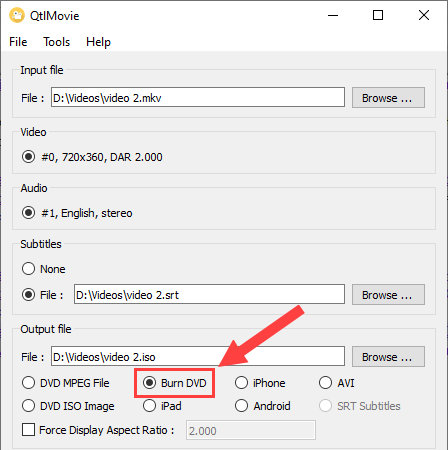
-
Click Start.
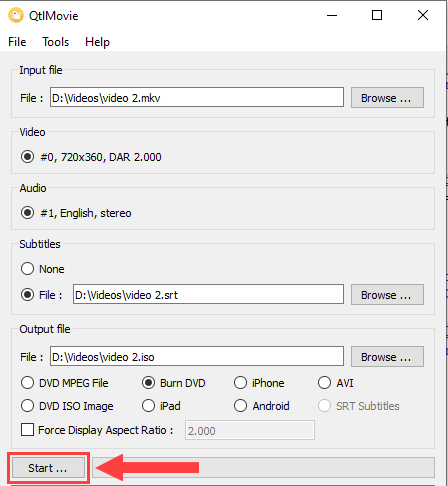
QtlMovie will convert your video to DVD format and then burn the video to a playable DVD. This may take a while, depending on your computer's hardware and software, the maximum speed capacity of your DVD, and the video's file size.
Related:
How to burn a CD or DVD in Windows 10 (step by step)
How to burn a CD or DVD on Windows 11 (step by step)
References:
https://www.howtogeek.com/3061/burn-any-video-file-type-to-play-on-a-dvd-player/