How to change the mouse pointer size and color in Windows 10 and 11
These step-by-step tutorials will show you how to change the mouse cursor size and color in Windows 10 and 11.
How to change the mouse pointer size and color in Windows 10
-
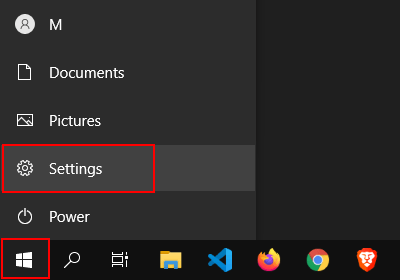
Click on the Windows start menu button.

-
Click on Settings.
- Click on Ease of Access.
-
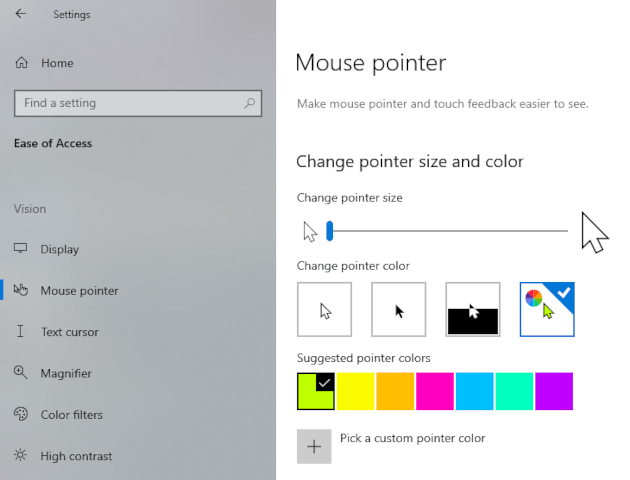
Click on Mouse pointer located in the left menu.

- To change the mouse pointer size, drag the slider under 'Change pointer size'.
-
You can change the mouse pointer color in the 'Change pointer color' section. There are four color options; white with a black border (the default), black with a white border, inverted (e.g., black on a white background or white on a black background), or a custom color with a black border.
How to change the mouse pointer size and color in Windows 11
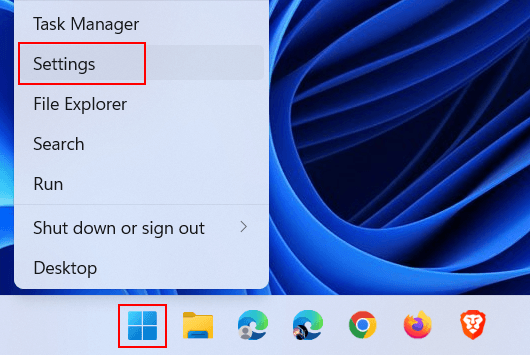
- Right-click on the Windows start menu button.
-
Click on Settings.
-
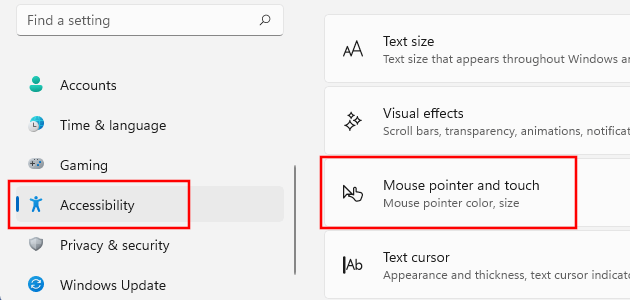
Click on Accessibility in the left menu.

-
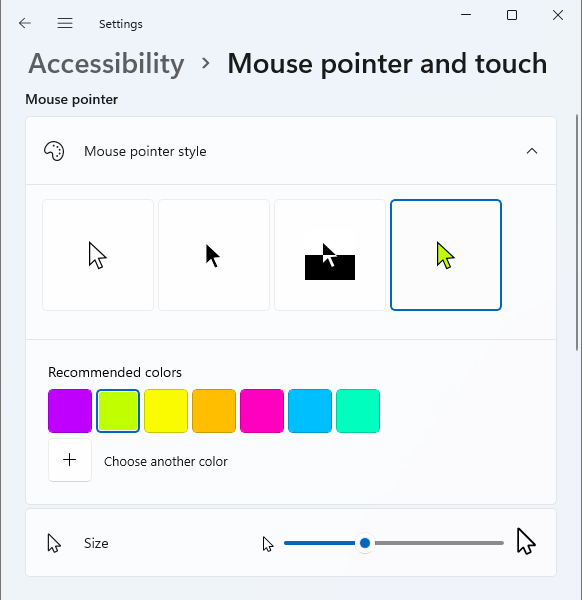
Click on Mouse pointer and touch.
- To change the mouse pointer size, drag the slider next to 'Size'.
-
You can change the mouse pointer color in the 'Change pointer style' section. There are four color options; white with a black border (the default), black with a white border, inverted (e.g., black on a white background or white on a black background), or a custom color with a black border.
Related:
How to disable the touchpad when a mouse is connected
References:
https://www.howtogeek.com/427263/how-to-change-the-mouse-pointer-color-and-size-on-windows-10/
https://www.guidingtech.com/how-to-customize-mouse-cursor-on-windows-11/
https://www.groovypost.com/howto/change-mouse-cursor-windows/