How to find your Wi-Fi password in Windows 10 and 11
Learn how to find the password of a connected Wi-Fi network in Windows 10 and 11.
Windows 10
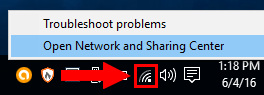
1. Right-click on the wireless network icon located in the system tray and then click on Open Network & Internet settings.
2. Scroll down and click on Network and Sharing Center.
You can also open Windows 10 settings > Network & Internet > scroll down and click on Network and Sharing Center.
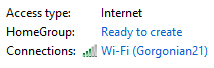
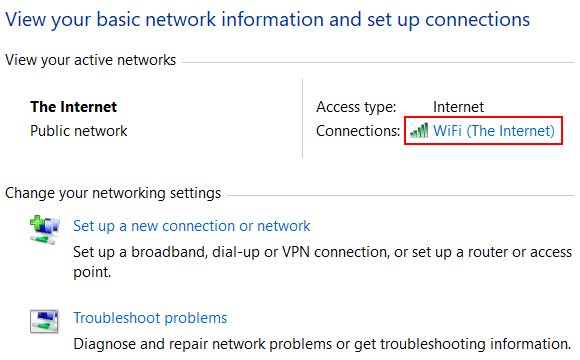
3. Click on the name of the current Wi-Fi connection.
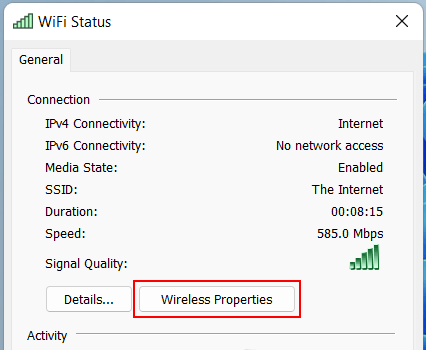
4. Click on Wireless Properties.
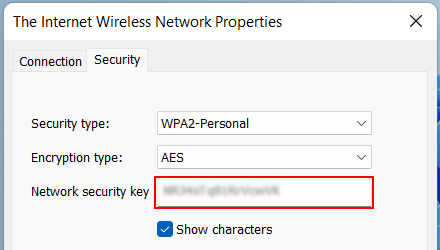
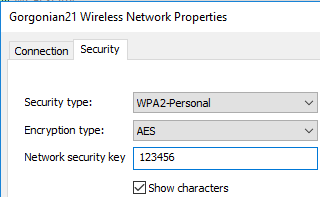
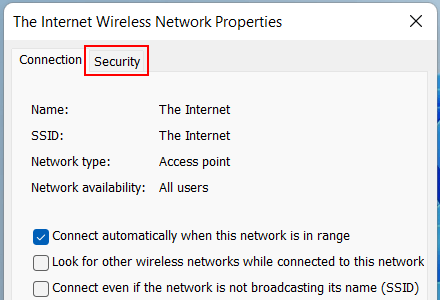
5. Click on the Security tab.
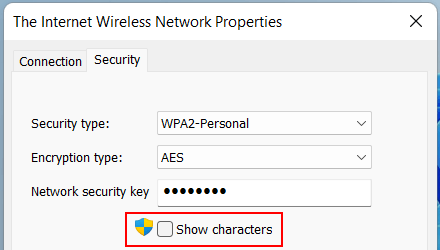
6. Under Network security key, you check the Show characters option.
Windows 10 will now show you the password.
Windows 11
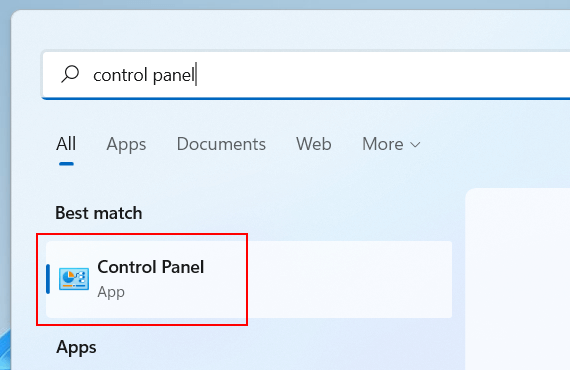
1. Click on the start menu button.

2. Type control panel.
3. Click on Control Panel when it appears in the search results.
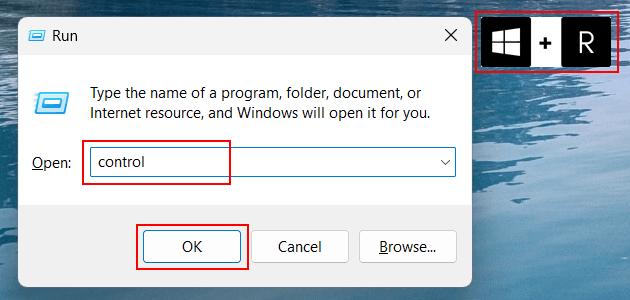
You can also open Control Panel by pressing the Windows ![]() + R keys on your keyboard > type control in the “Run” window > click on OK or press the Enter key on your keyboard.
+ R keys on your keyboard > type control in the “Run” window > click on OK or press the Enter key on your keyboard.
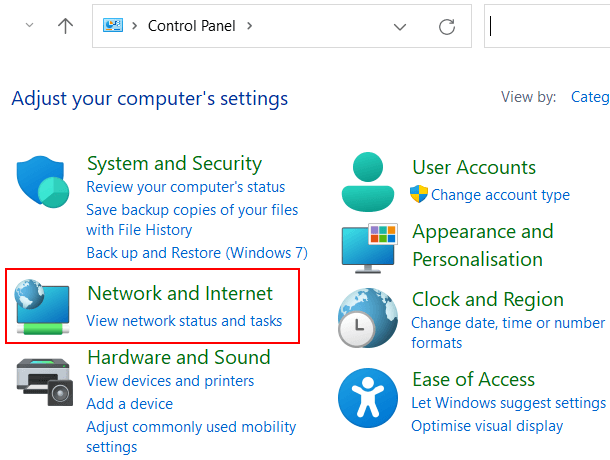
4. Click on Network and Internet.
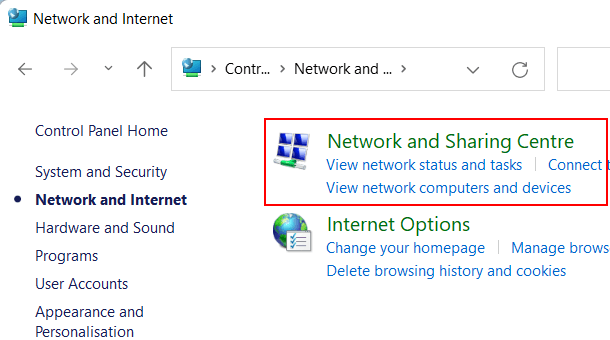
5. Click on Network and Sharing Centre.
6. Click on the name of the Wi-Fi network you are connected to.
7. Click on Wireless Properties.
8. Click on Security.
9. Click on Show characters.
10. When the “User Account Control” window appears, you click Yes. Depending on your settings, you may also need to enter the admin password and click Yes.
You will now see the password of the Wi-Fi network in the “Network security key” field.