How to use the System File Checker tool in Windows 11
Learn how to use the System File Checker tool in Windows 11.
System File Checker is a utility in Microsoft Windows that allows users to scan for and repair missing or corrupted system files.
Steps
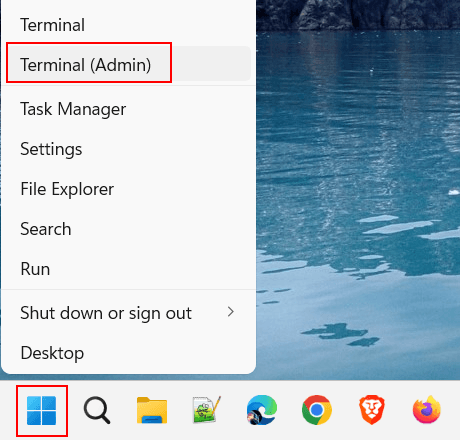
1. Open Windows “Command Prompt” or “Terminal” as an administrator. One way to do this is to right-click on the start menu button (or press the Windows ![]() + X keys) and then click on Terminal (Admin).
+ X keys) and then click on Terminal (Admin).
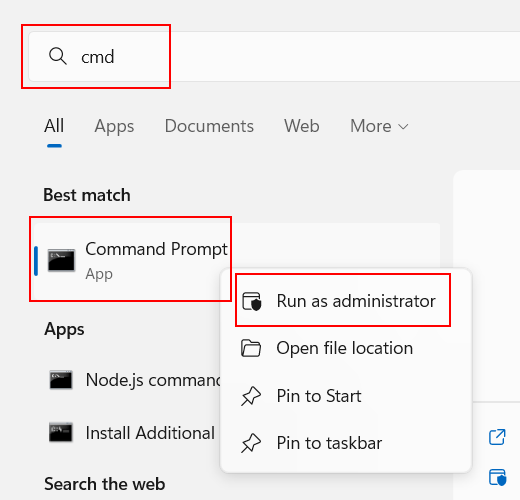
You can also click on the start menu button or search icon located in the taskbar > type cmd > right-click on Command Prompt > click on Run as administrator.
Or you press the Windows ![]() + R keys on your keyboard simultaneously to open a “Run” window > type
+ R keys on your keyboard simultaneously to open a “Run” window > type cmd into the “Run” window > press the Ctrl + Shift + Enter keys on your keyboard simultaneously.


2. When the “User Account Control” window appears, you click Yes.
Note: Depending on your settings, you might need to enter your administrator password first and then click Yes.
3. In the Command Prompt or Terminal window, you type (or copy and paste) the following command:
DISM.exe /Online /Cleanup-image /Restorehealth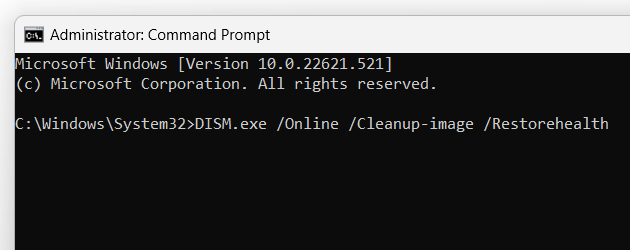
4. Press the Enter key on your keyboard.
Note: This process may take a few minutes to start and complete.
5. After you see a message that says “The operation completed successfully”, you type (or copy and paste) the following command:
sfc /scannow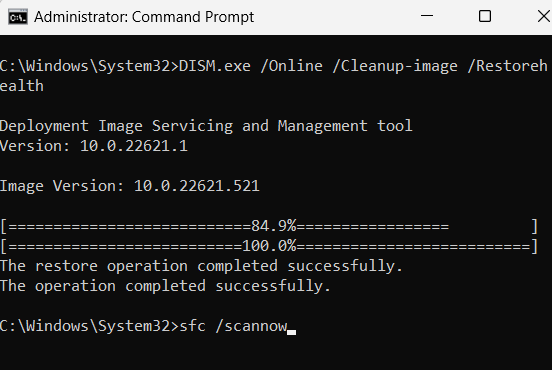
6. Press the Enter key on your keyboard.
The System File Checker tool will scan all protected system files, and replace corrupted files with a cached copy.
This process may take a while.
7. Wait till the process is complete.
8. After you see a message that says “Verification 100% complete”, you can close the Command Prompt or Terminal window.