How to start Windows 10 and 11 in safe mode with networking
Learn how to start Microsoft Windows 10 and 11 in safe mode with networking.
Windows “Safe Mode with Networking”
Safe mode starts the Windows operating system in a basic state, using a limited set of files and drivers. Safe Mode can help you troubleshoot problems on your PC.
Safe Mode with Networking also loads the network drivers and services you need to access the Internet and other computers on your network.
How to start Windows 10 and 11 in safe mode with networking
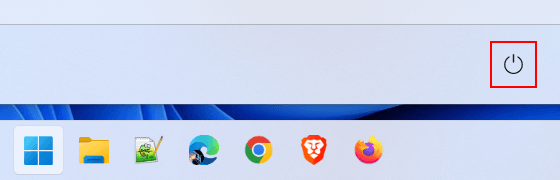
1. Click on the Windows start menu button.

2. Click on the power button.
3. Hold the Shift key on your keyboard down and then click on Restart.
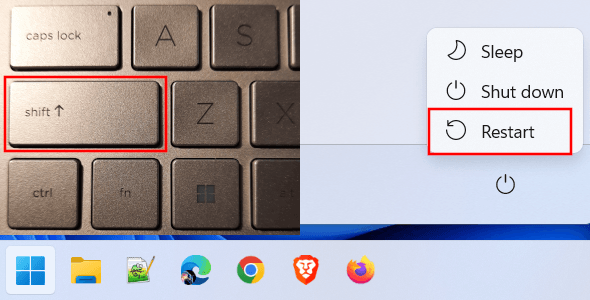
An options menu will appear.
4. Click on Troubleshoot.
5. Click on Advanced options.
6. Click on Startup Settings.
7. Click on Restart to restart your PC.
8. When the startup settings menu appears, you press the 5 key on your keyboard for Safe Mode with Networking.
How to force Windows 10 or 11 to start into safe mode with networking without the F8 key
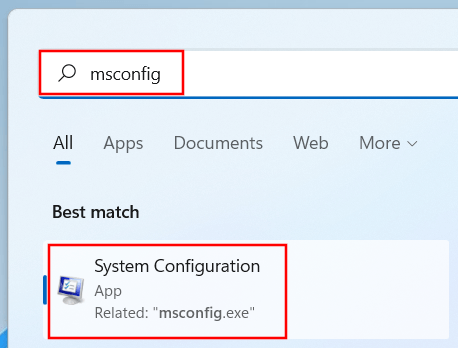
1. Click on the Windows start menu button.
2. Type msconfig.
3. Click on System Configuration when it appears in the search results.
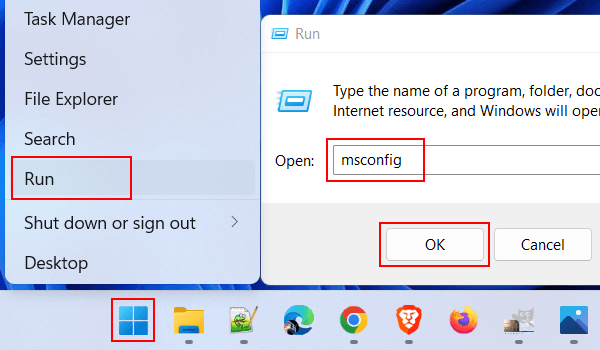
You can also right-click on the Windows start menu button > Run > type msconfig > click on OK.
4. When the “User Account Control” window appears, you click Yes. Depending on your settings, you may also need to enter the admin password and click Yes.
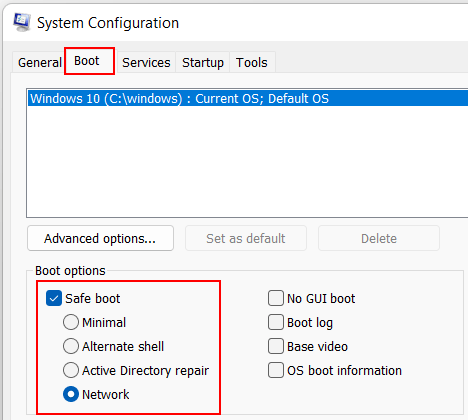
5. Click on the Boot tab.
6. Select the Safe boot option.
7. Select the Network option.
8. Click on the OK button.
9. Click on Restart to restart your PC.