How to rotate a video in Windows 10 and 11 (5 ways)
Learn how to rotate a video in Windows 10 and 11 clockwise and counterclockwise permanently.
Windows video editor
Windows 10 comes with a built-in video editor, and you can use this video editor to perform basic video editing tasks, including rotating videos.
1. Click on the start menu button and then click on Video Editor.
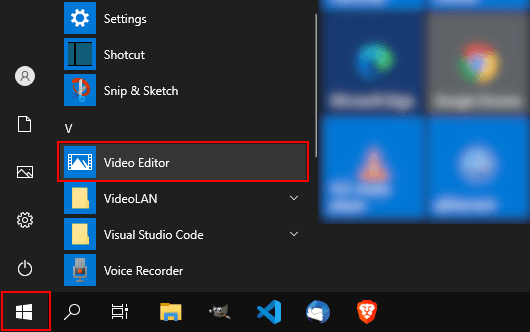
You can also type video editor in the Windows search bar and then click on Video Editor when it appears.
You can also click on the start menu button and then click on Photos. The video editor is also built into the Photos app.
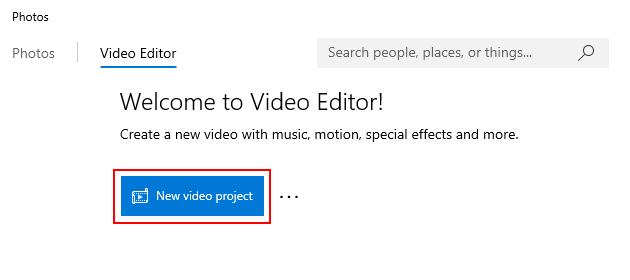
2. Click on the New Video Project button in the upper left corner.
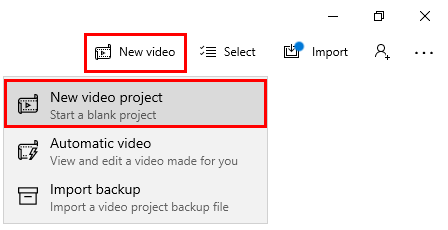
Or click on New video in the upper right corner and then click on New video project.
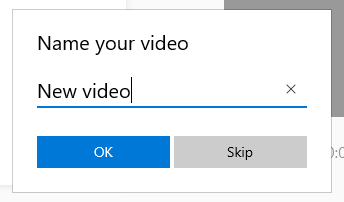
A “Name your video” window will appear.
3. Type a name for your new video project.
4. Click on the OK button.
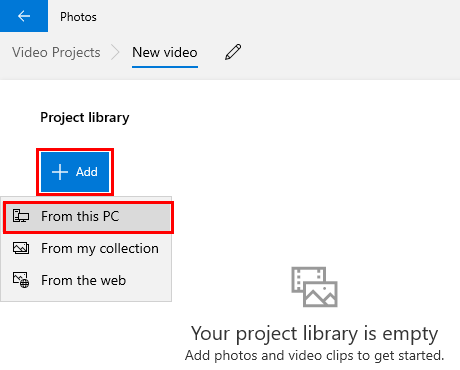
5. Click on the + Add button in the Project library section in top left corner.
6. Click on From this PC.
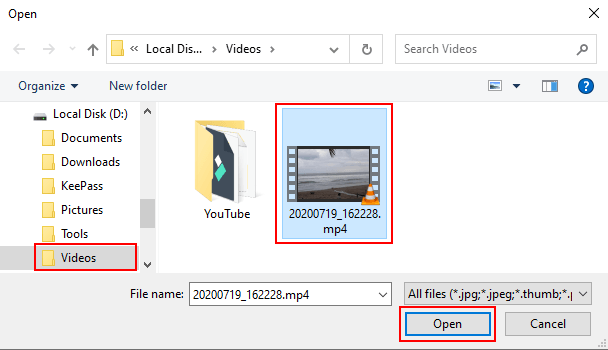
A small “Open” window will appear.
7. Within the window, you go to the video you want to rotate.
8. Select the video.
9. Click on the Open button.
The Windows 10 video editor will now load your video file.
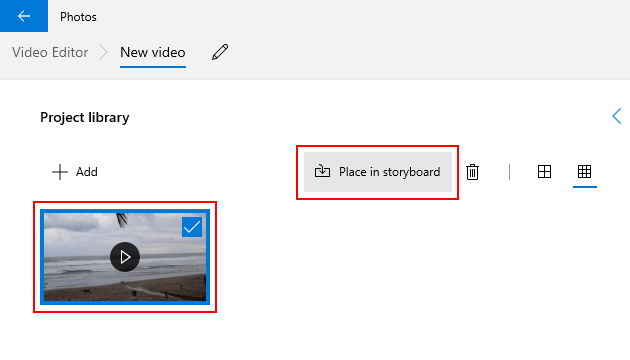
10. Right-click on the video and then click on Place in storyboard.
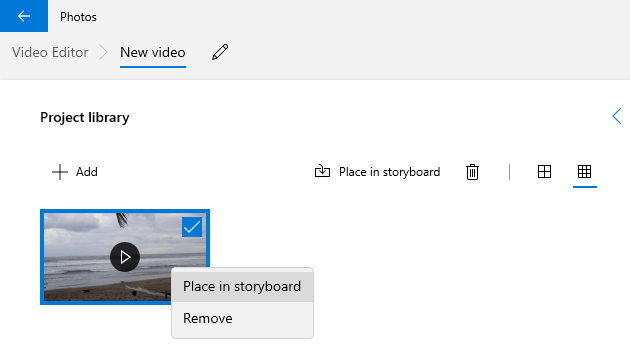
You can also select the video and then click on Place in storyboard.
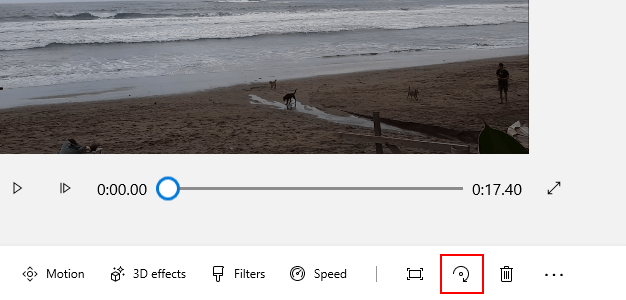
11. To rotate the video, you click on the ![]() rotate button underneath the preview player. Keep clicking the rotate button until you get the desired result.
rotate button underneath the preview player. Keep clicking the rotate button until you get the desired result.
12. When you're done editing the video, you click on Finish video in the upper right corner.
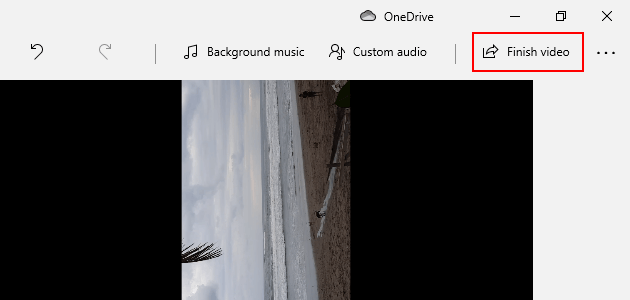
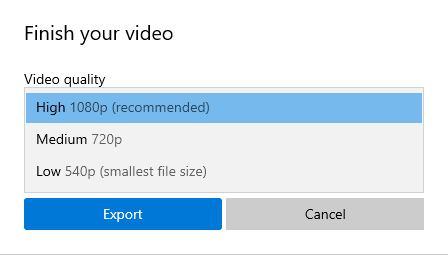
A “Finish your video” window will appear.
13. Select the quality.
14. Click on the Export button.
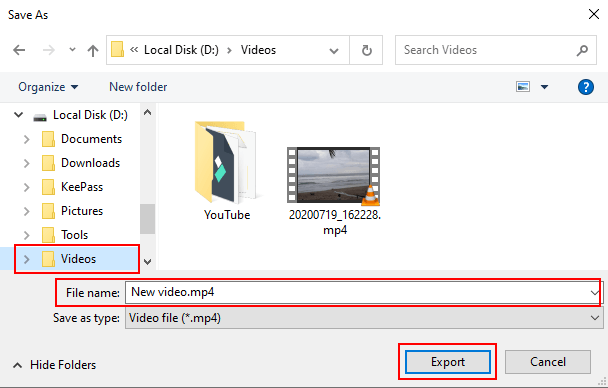
A “Save as” window will appear.
15. Select a location on your computer where you want to save the new video.
16. At File name, you can enter a name for the new video.
17. Click on the Export button.
The Windows 10 video editor will now export your new video.
Shotcut
Shotcut is a free and open-source cross-platform video editor for Microsoft Windows, Linux, and macOS.
1. Open Shotcut.
2. Click on Open File in the top left corner.

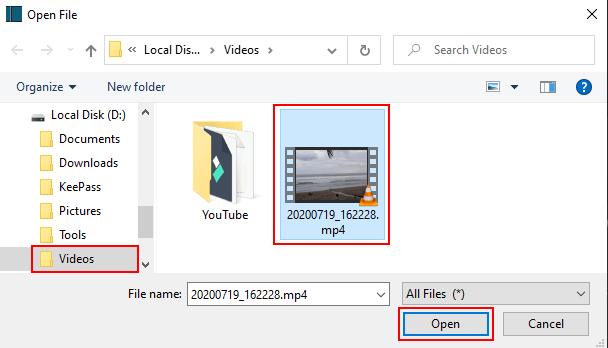
A “Open File” window will appear.
3. Within this window, you go to the video you want to rotate.
4. Select the video.
5. Click on the Open button.
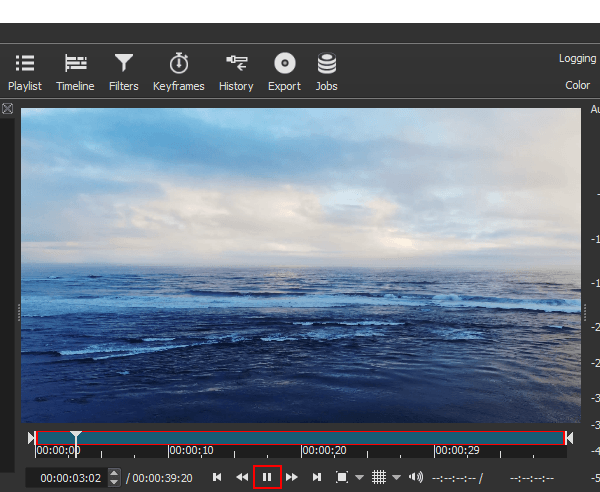
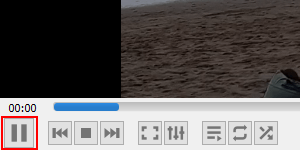
The video will start playing immediately. You can pause the video by clicking on the pause button below the video.
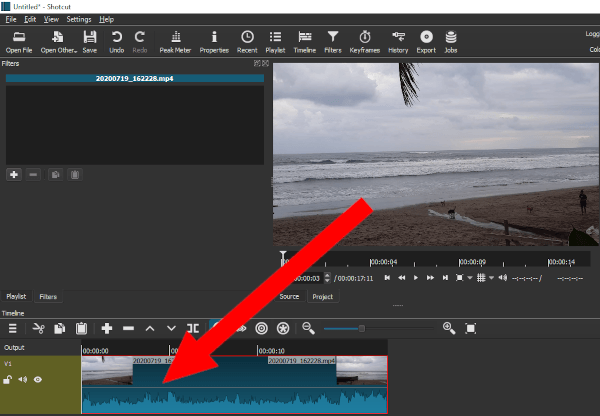
6. Drag the video to the timeline.
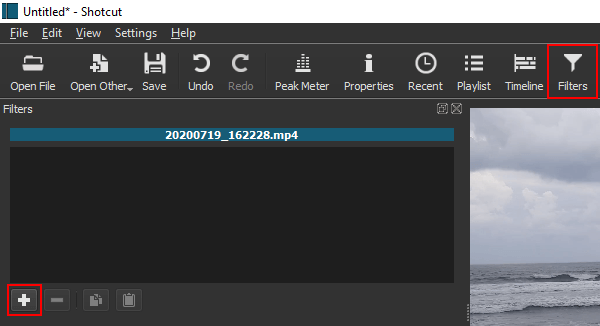
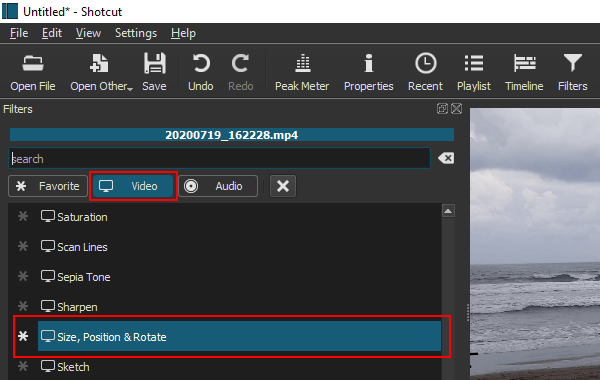
7. Click on Filters located in the top menu.
8. Click on the + button.
9. Click on Video.
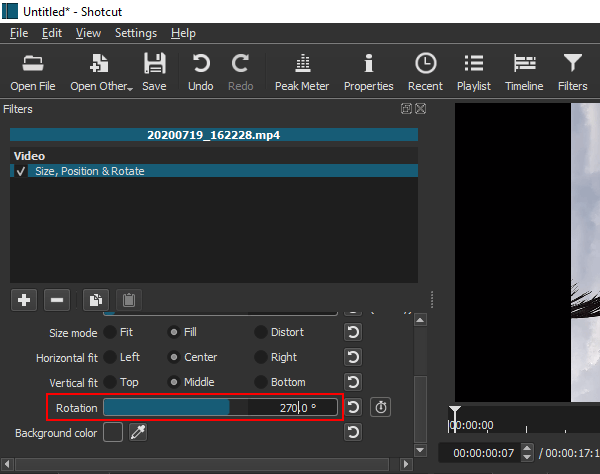
10. Click on Size, Position & Rotate.
11. At Rotation, you can rotate the video by using the bar or entering the degrees (e.g., 90.0, 180.0, 270.0).
12. When you're done editing the video, you click on Export at the top.
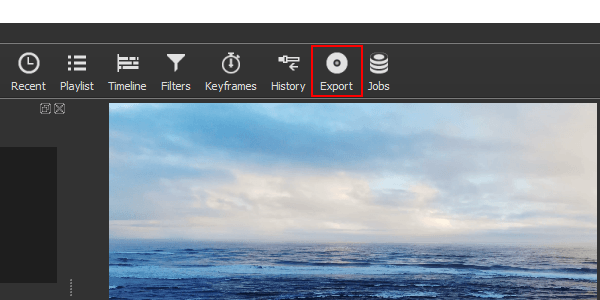
A “Export” panel will appear.
13. In the Presets section, you select a video format.
14. If you want more advanced settings, you click on the Advanced button.
15. When you're done, you click on the Export File button.
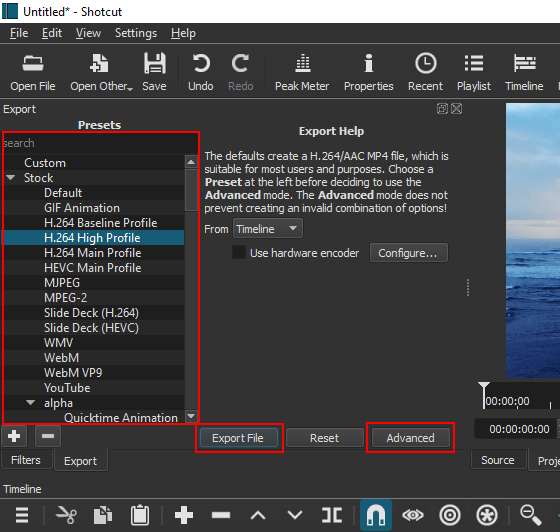
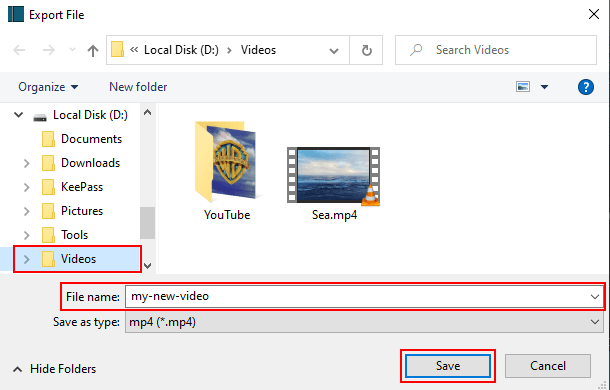
A “Export File” window will appear.
16. Select a location on your computer where you want to save the video file.
17. At File name, you type a name for the video.
18. Click on the Save button.
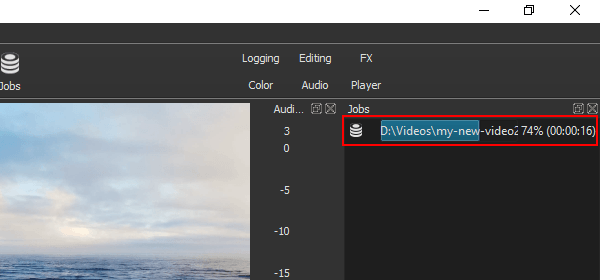
Shotcut will now export your new video.
You can see the progress at Jobs located in the top right corner.
Filmora
Filmora is a user-friendly video editor for Microsoft Windows and macOS.
I'm using Filmora for editing videos for my YouTube channel.
1. Open Filmora.
2. Click on Import and then click on Import Media Files.
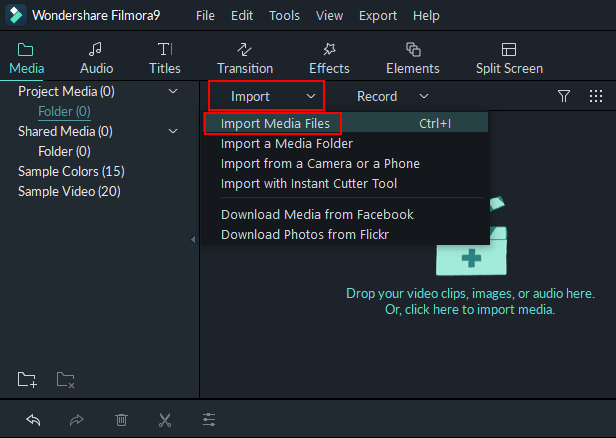
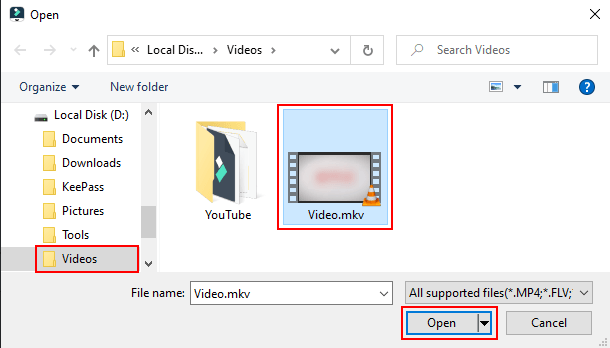
A “Open” window will appear.
3. Within this window, you go to the video you want to rotate.
4. Select the video.
5. Click on the Open button.
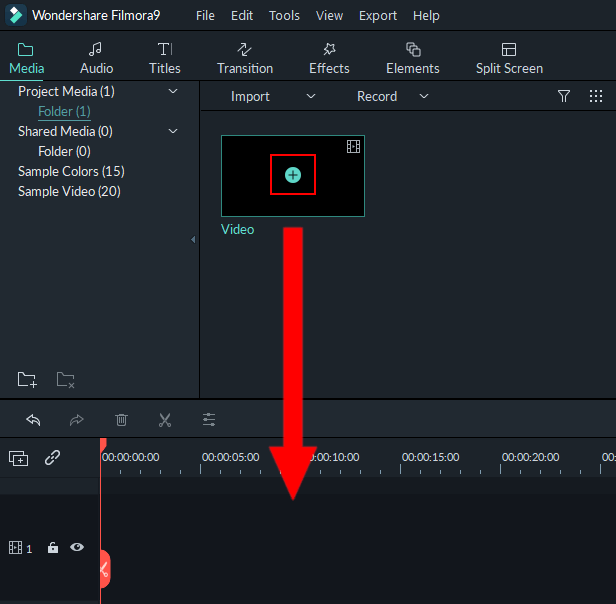
6. Drag the video to the timeline.
Or hover with your mouse cursor on the video and then click on the (+) button in the middle of the video.
7. Filmora will now ask you if you want to change the project's settings to match this media. I recommend choosing the same resolution and framerate as the original video.
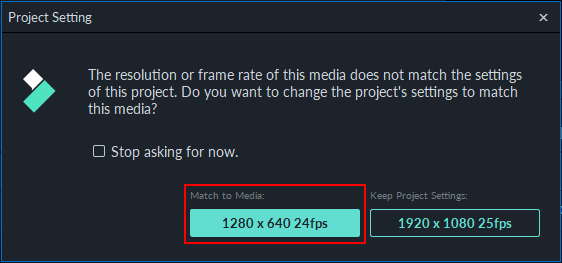
Note: You can also find a project settings button below the video preview player.

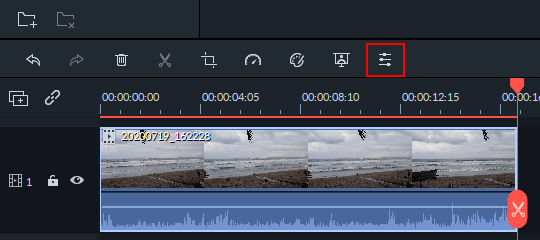
8. Click on the video to select it.
9. Click on the edit button.
10. Expand Transform.
11. You can rotate the video using the slider, or you can enter a degree (e.g., 90, 180, 270) in the box/field next to the slider.
12. You can also flip the video.
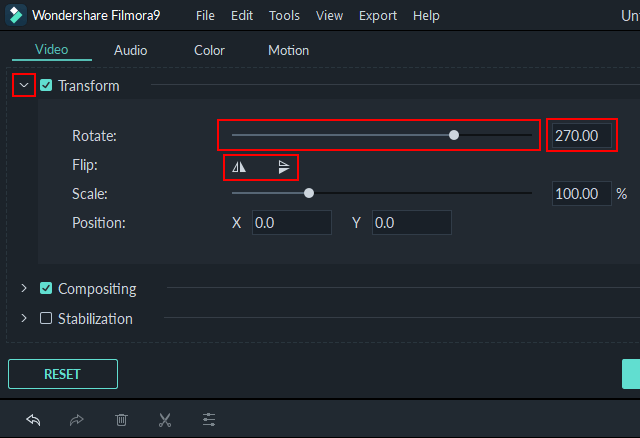
13. When you're done rotating or flipping the video, you click on the OK button.
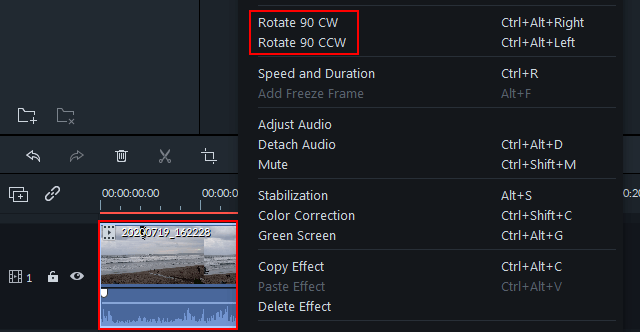
Alternatively, you can also rotate the video by right-clicking the video and then click on Rotate 90 CW or Rotate 90 CCW.
14. When you're done editing the video, you click on the Export button at the top.
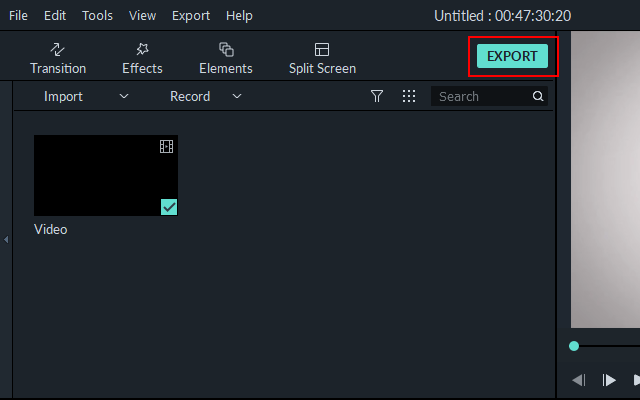
A “Export” window will appear.
15. Select a video format.
16. Type a name for your video.
17. At Save to, you can see and change the location on your computer where Filmora will save the new video. To change this location, click on the small folder icon.
18. If you want more advanced settings, you click on the Settings button.
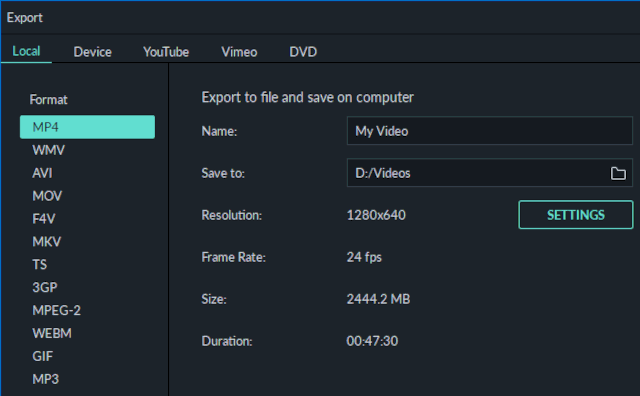
19. When you're ready, you click on the Export button at the bottom right of the “Export” window.
Filmora will now export your video.
A small window will appear and here you can see the progress.
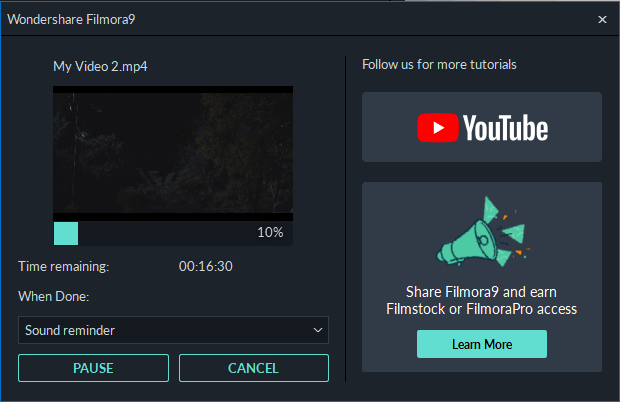
Filmora will also play a sound when the process is complete.
VLC media player
VLC media player is a free and open-source cross-platform multimedia player for Microsoft Windows, Linux, and macOS. It plays most video and audio files, and it offers a lot of extra features, like, for example, converting videos.
1. Open and play the video in VLC media player.
You can right-click on the video and then click on Play with VLC media player.
Or if VLC is your default media player, then you can just double-click on the video to play it.
2. Once the video starts playing, you click on the pause button to pause it.
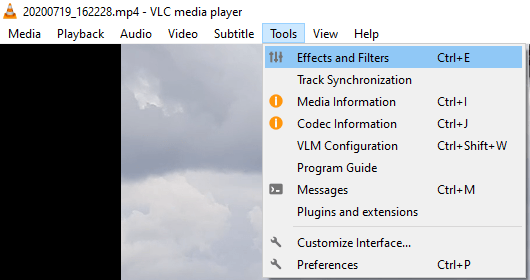
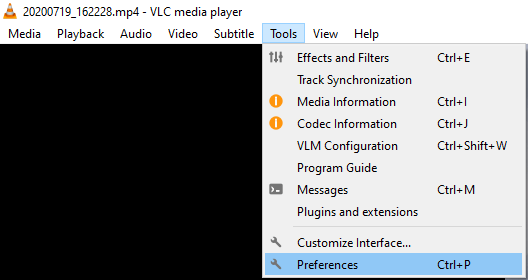
3. Click on Tools located in the top menu.
4. Click on Effects and Filters.
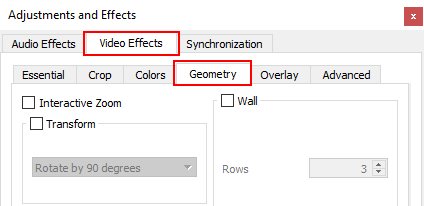
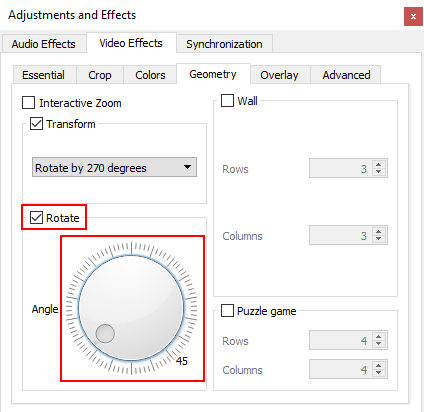
A “Adjustments and Effects” window will appear.
5. Click on Video Effects.
6. Click on Geometry.
7. Check the checkbox next to Transform.
8. Click on the selection menu button and select an option (e.g., Rotate by 90 degrees, Rotate by 180 degrees, etc.).
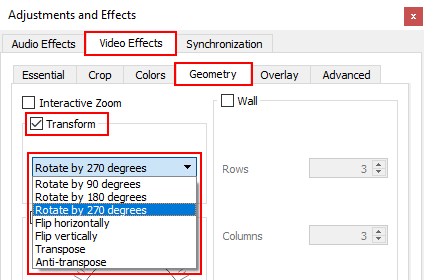
You can also check the checkbox next to Rotate and then rotate the video manually using your mouse.
9. Click on the Save button at the bottom of the “Adjustments and Effects” window.
10. Click on the Close button.
11. Click on Tools located in the top menu.
12. Click on Preferences.
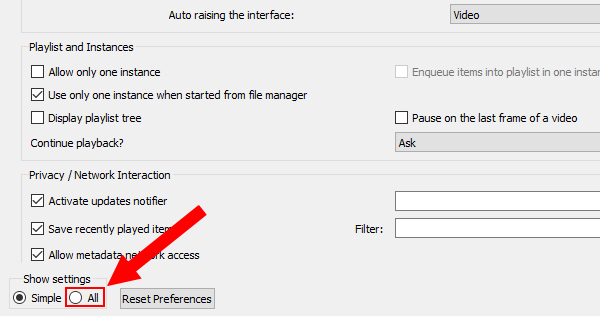
A “Preferences” window will appear.
13. In the bottom left corner of the “Preferences” window, you'll see a Show settings option. Here you click on the All option.
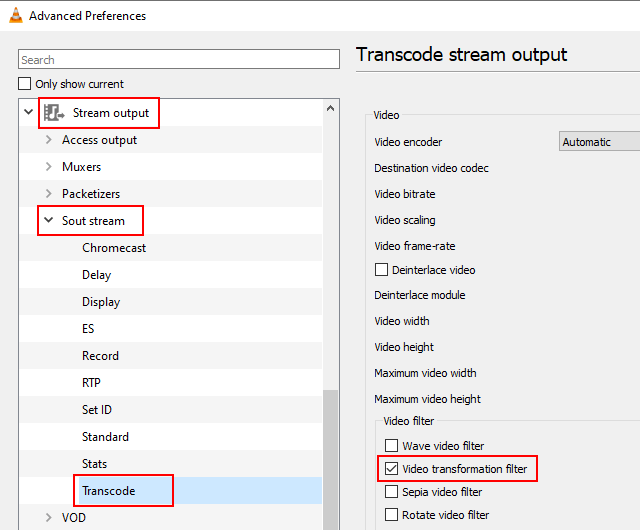
A “Advanced Preferences” window will appear.
14. In the left menu, you go to Stream output.
15. Double-click on Sout stream to expand its options.
16. Click on Transcode.
17. Check the checkbox next to Video transformation filter.
18. Click on the Save button at the bottom of the “Advanced Preferences” window.
19. Click on Media in the upper left corner.
20. Click on Convert/Save.
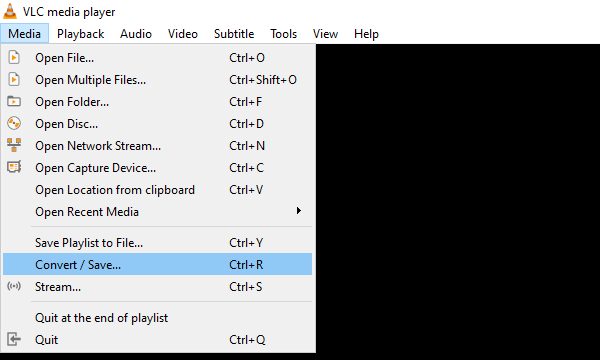
A “Open Media” window will appear.
21. In this window, you click on the Add button.
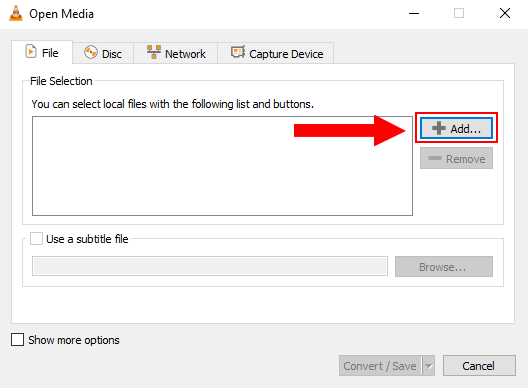
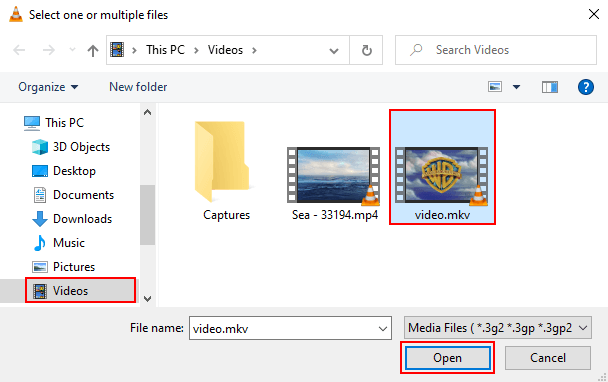
A “Select one or multiple files” window will appear.
22. In this window, you go to the video you want to rotate.
23. Select the video.
24. Click on the Open button.
25. Click on the Convert/Save button at the bottom of the window.
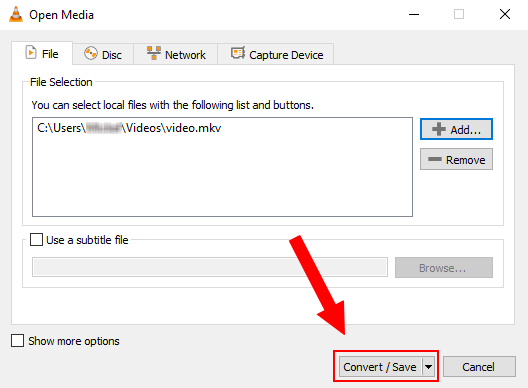
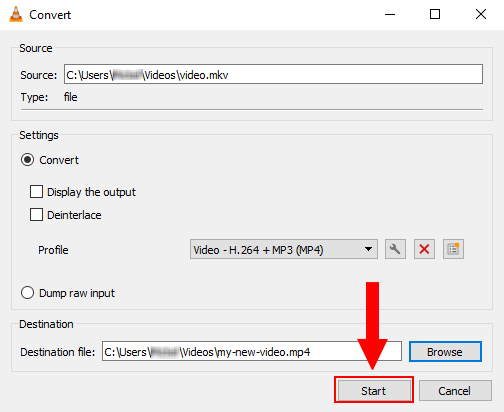
A “Convert” window will appear.
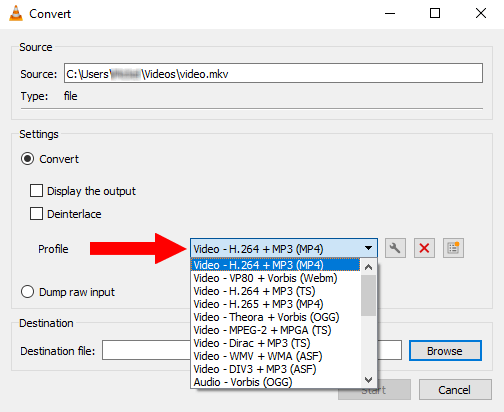
26. At Profile, you click on the selection menu button and select Video - H.264 + MP3 (MP4) or another video format.
27. Click on the tools button next to the profile selection menu button.

A “Profile edition” window will appear.
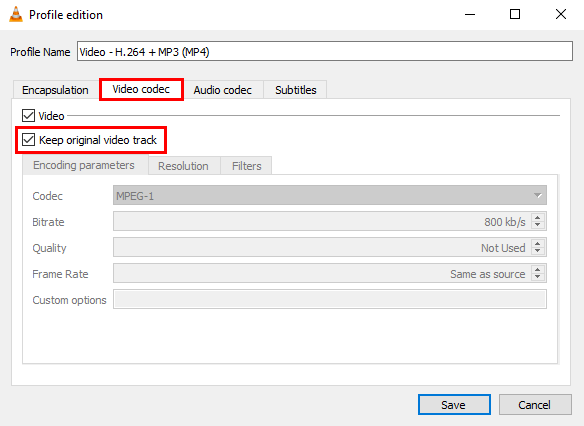
28. Click on Video codec.
29. Check the checkbox next to the Keep original video track option.
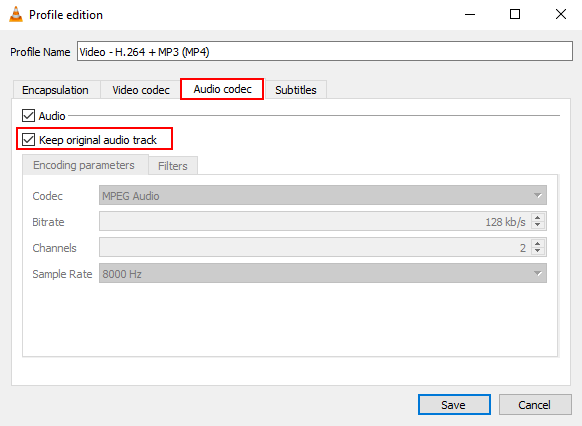
30. Click on Audio codec.
31. Check the checkbox next to the Keep original audio track option.
32. Click on the Save button at the bottom of the window.
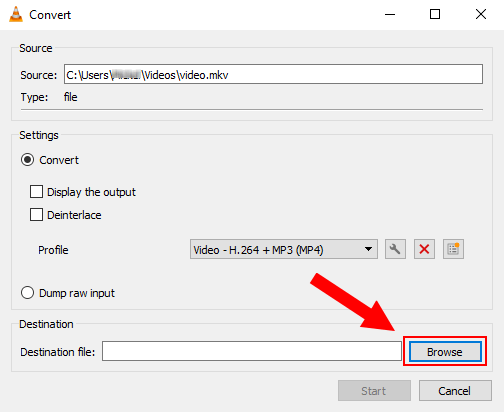
33. In the “Convert” window, you click on the Browse button.
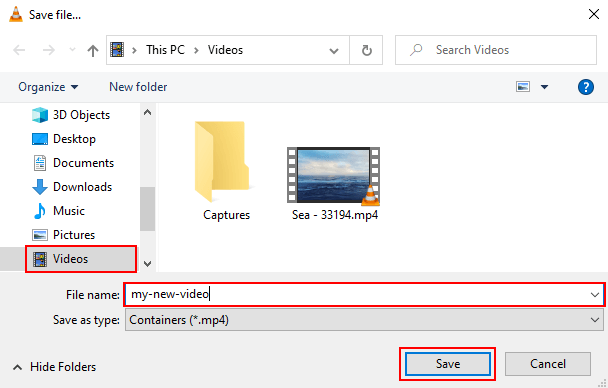
A “Save file” window will appear.
34. Select a location on your computer where you want to save the new video.
35. At File name, you type a name for the video. Make sure to give it a different name as the original video.
36. Click on the Save button.
37. When you're ready, you click on the Start button at the bottom of the window.
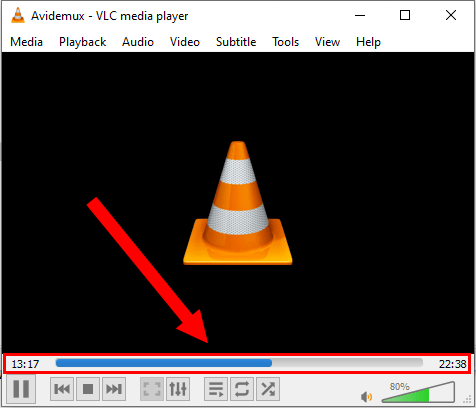
VLC media player will now create your new video.
You can see the progress at the bottom of VLC.
38. When the video is complete, you click on Tools located in the top menu.
39. Click on Preferences.
40. Click on the Reset Preferences button at the bottom of the window.
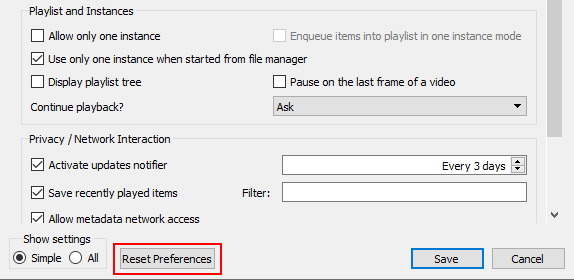
41. Click on the OK button to confirm.
FFmpeg
FFmpeg is a free and open-source cross-platform solution to record, convert and stream audio and video on Microsoft Windows, Linux, and macOS.
On Linux, FFmpeg is easy to install because it's available in the default repositories and software centers of many popular Linux distributions such as Arch, Debian, Ubuntu, Linux Mint, Manjaro, MX Linux, Fedora, and many other Linux distro's.
I've made a tutorial for installing FFmpeg on Windows 10, here (link opens in new tab).
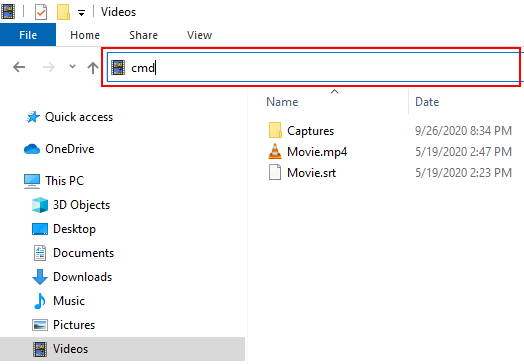
1. Open the folder where the video is that you want to rotate.
2. Open a Command Prompt window (Windows) or Terminal window (Linux) in the folder.
On Windows 10, you click on the address bar of File Explorer, type cmd, and the Press the Enter key on your keyboard.
On Linux, you right-click in the folder and then click on Open Terminal Here.
Or you click on File in the upper left corner and then click on Open Terminal Here.
In the Command Prompt or Terminal window, you type (or copy and paste) one of the commands below and then Press the Enter key on your keyboard.
The following command will rotate a video by 90 degrees counterclockwise and flip vertically:
ffmpeg -i input-video.mp4 -vf "transpose=0" output-video.mp4Note: Don't forget to replace input-video.mp4 with the filename of your video, and output-video.mp4 with the desired name for the new video.
The following command will rotate a video by 90 degrees clockwise:
ffmpeg -i input-video.mp4 -vf "transpose=1" output-video.mp4The following command will rotate a video by 90 degrees counterclockwise:
ffmpeg -i input-video.mp4 -vf "transpose=2" output-video.mp4The following command will rotate a video by 90 degrees clockwise and flip vertically:
ffmpeg -i input-video.mp4 -vf "transpose=3" output-video.mp4The following command will rotate a video by 180 degrees clockwise:
ffmpeg -i input-video.mp4 -vf "transpose=2,transpose=2" output-video.mp4