How to replace a color in an image using GIMP (step by step)
Learn how to replace one color in an image with another in GIMP in three different ways.
Method 1
1. Open GIMP.
2. Open the image you want to edit.
Note: When a “Convert to RGB Working Space” window appears, you click on the Keep button.
3. In the right window, you right-click on the small image thumbnail and then click on Duplicate Layer.
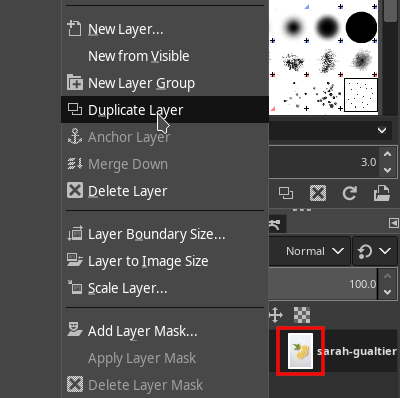
Or click on Layer (top menu) > Duplicate Layer.
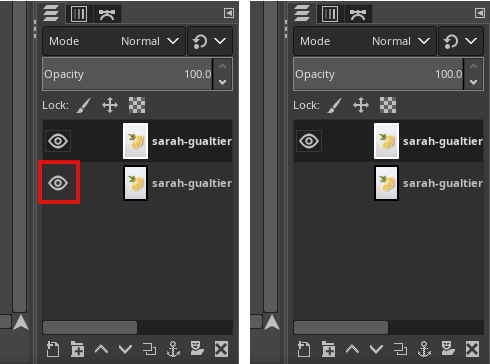
4. Click on the “Item Visibility” button (eye) of the bottom layer (thumbnail of image) to hide the item.
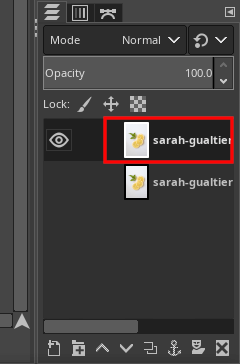
5. Click on the top layer (thumbnail of image) to select it.
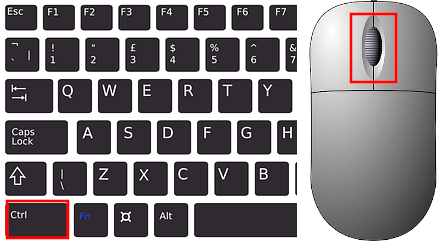
6. Hold down the Ctrl key on your keyboard and use the scroll button of your mouse to zoom in on the area of the image where you want to change the color.
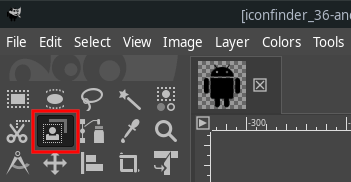
7. Click on the “Foreground Select” button located in the “Toolbox” window.
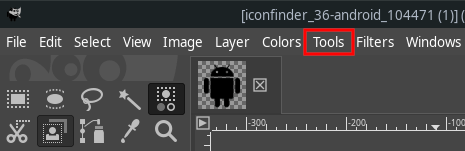
Or click on Tools (top menu) > Selection Tools > Foreground Select.
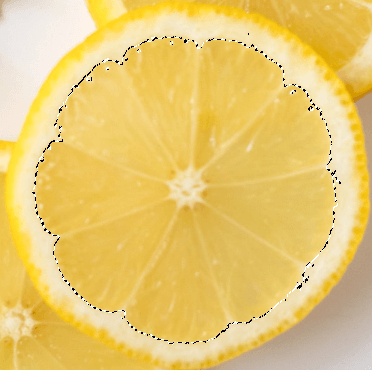
8. Select around the edge of the area you want to replace the color and make sure to connect the end to the start. Easiest way to do this is to click, draw line, click, draw line, click, draw line, etc.
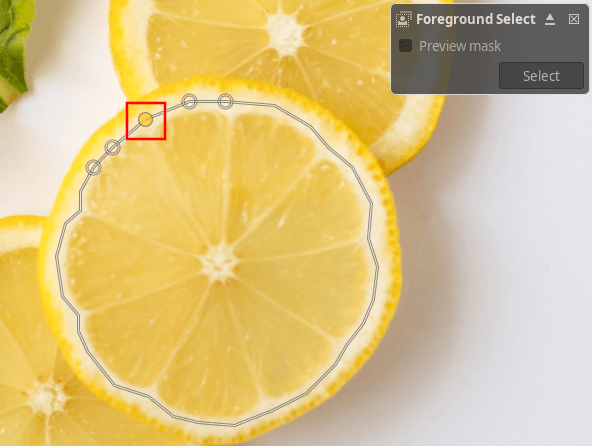
9. Press the Enter key on your keyboard.
10. With the paint brush tool, you draw inside the selected area and on the color you want to replace. Don't draw outside the selected area and don't worry about the color of the paint brush tool because the color doesn't matter.
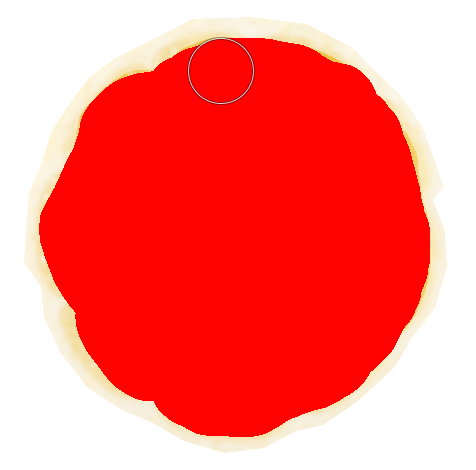
You can adjust the stroke width of the paint brush tool in the “Foreground Select” area located in the bottom left corner of GIMP.

11. Click on the Select button of the small “Foreground Select” window that appears at the top right corner of the image.
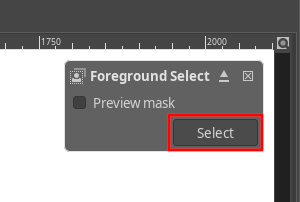
Now you can see the selection around the edge of the area.
12. Click on Colors (top menu) > Hue-Saturation.
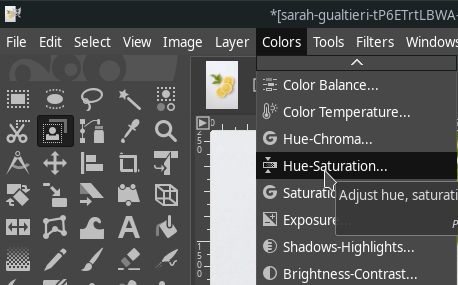
A “Hue-Saturation” window will appear.
13. Use the Hue bar to change the color of the selected area.
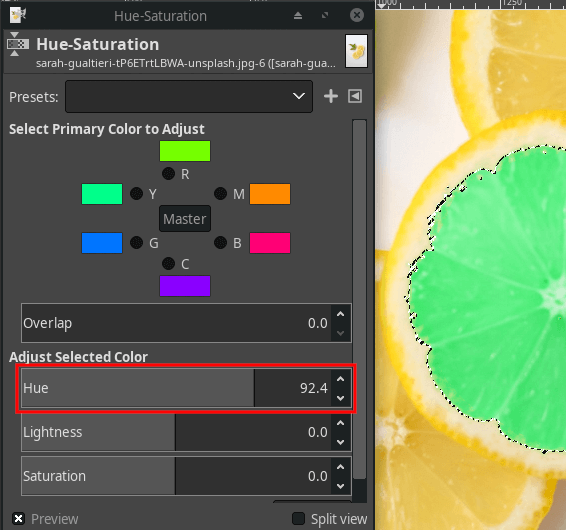
14. Click on the OK button located in the bottom right corner of the “Hue-Saturation” window.
15. Click on Select (top menu) > None.
16. You can now save the image (Click on File (top menu) > Export As).
Method 2
1. Open GIMP.
2. Open the image you want to edit.
Note: When a “Convert to RGB Working Space” window appears, you click on the Keep button.
3. Click on Colors (top menu) > Map > Color Exchange.
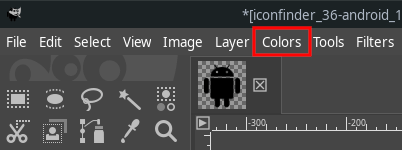
Or right-click on the image > Colors > Map > Color Exchange.
A “Color Exchange” window will appear.
4. At From Color, you click on the color picker button.
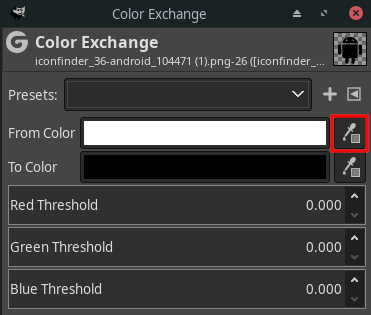
5. On the image, you click on the color that you want to replace.
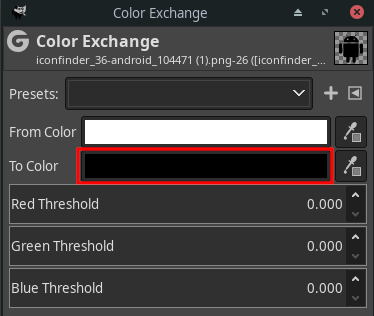
6. At To Color, you select the desired replacement color.
7. Click on the OK button.
8. Click again on the OK button.
9. You can now save the image (Click on File (top menu) > Export As).
Method 3
1. Open GIMP.
2. Open the image you want to edit.
Note: When a “Convert to RGB Working Space” window appears, you click on the Keep button.
3. Click on the “Select by Color” button in the top right corner of the “Toolbox” window.
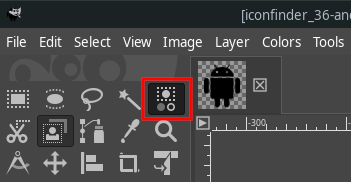
Or click on Tools (top menu) > Selection Tools > By Color Select.
4. Click on the color in the image you want to replace.
GIMP will automatically select the same color throughout the image.
5. Click on the “Foreground Select” button located in the “Toolbox” window.
Or click on Tools (top menu) > Selection Tools > Foreground Select.
6. Select the desired replacement color.
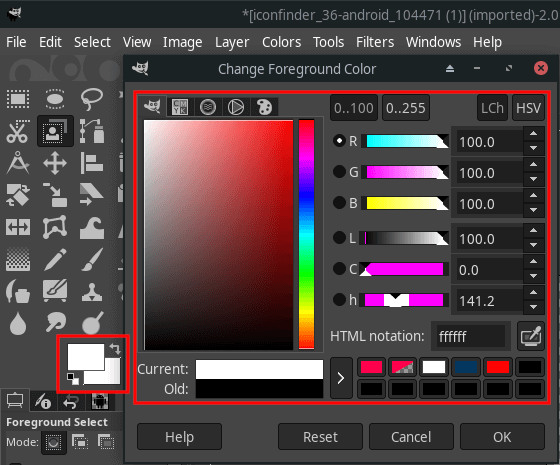
7. Click on the OK button.
8. Click on the “Bucket Fill” button located in the “Toolbox” window.
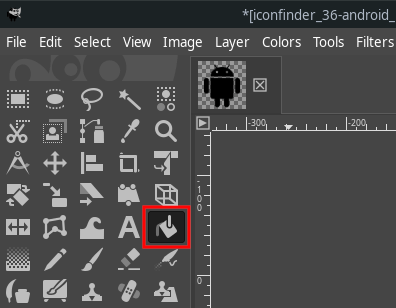
Or click on Tools (top menu) > Paint Tools > Bucket Fill.
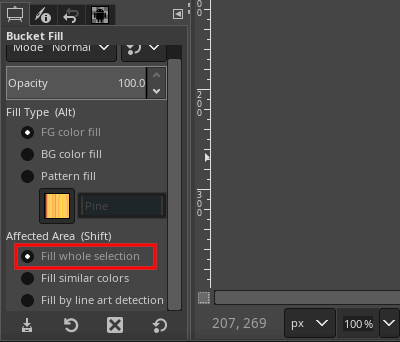
9. Make sure that the Fill whole selection option is checked (selected). You can find this option at the bottom of the “Toolbox” window (bottom left corner).
10. On the image, you click on the color that you want to replace.
11. You can now save the image (Click on File (top menu) > Export As).