How to make part of a photo blurry (step by step)
Learn how to make part of a photo blurry using GIMP (free).
GIMP (GNU Image Manipulation Program) is a free and open-source cross-platform image editor for Microsoft Windows, Linux, and macOS. GIMP website
Tip! You should make a backup (copy) of the original photo before you edit it.
Steps
1. Open GIMP.
2. Click on File in the top left corner.
3. Click on Open.
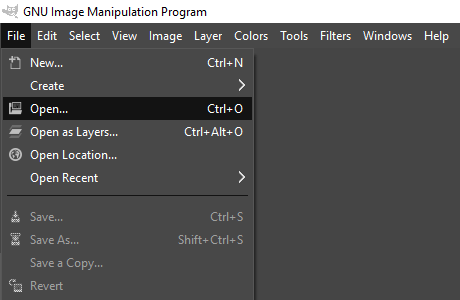
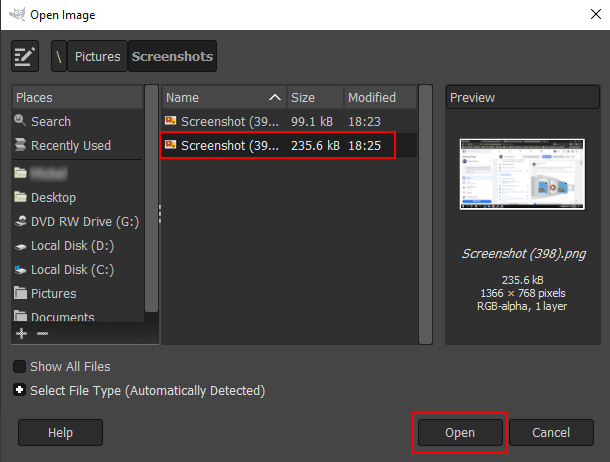
A “Open Image” window will appear.
4. Within this window, you go to the location on your computer where the photo is.
5. Select the photo.
6. Click on the Open button.
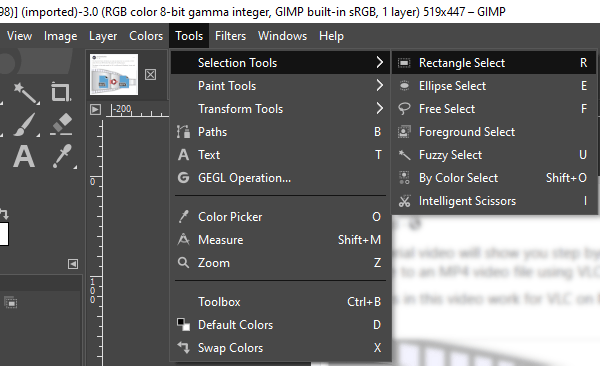
7. Click in the top menu of GIMP on Tools > Selection Tools > Rectangle Select, or if you want to blur a round object in the photo, you click on Ellipse Select.
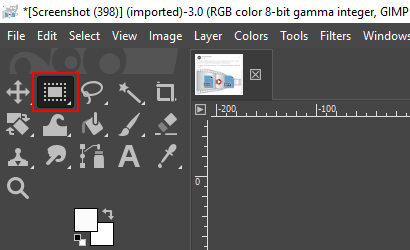
You can find the Rectangle Select tool also in the toolbar in the left top corner.
8. Select the part of the photo you want to make blurry.
9. Click in the top menu of GIMP on Filters > Blur > Gaussian Blur.
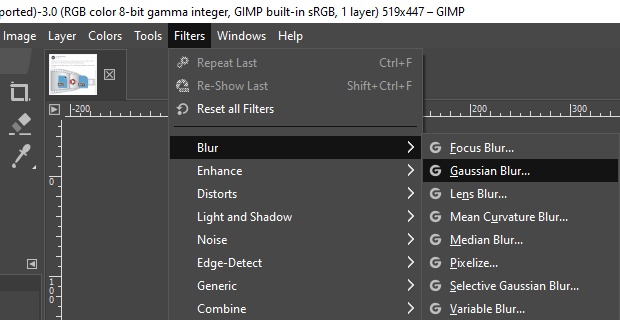
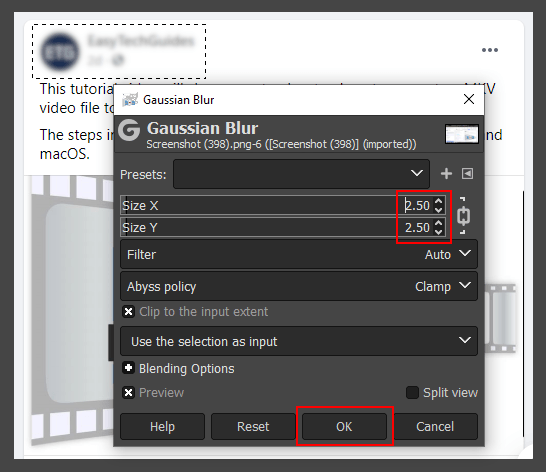
A “Gaussian Blur” window will appear.
10. At Size X, you can select how much you want to blur the selected part of the photo.
11. Click on the OK button.
12. Click on File in the top left corner.
13. Click on Export or Export As.

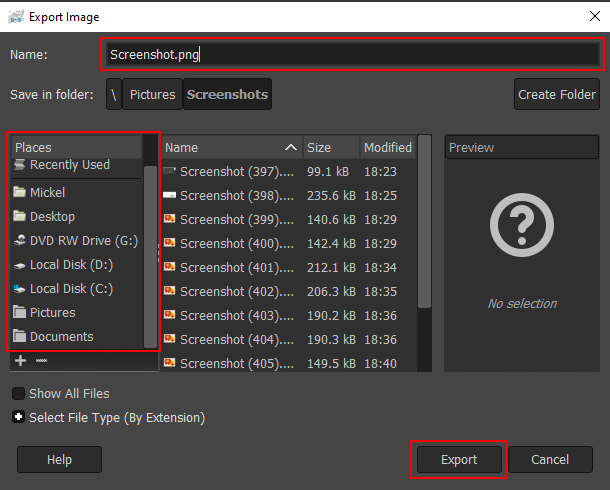
A “Export Image” window will appear.
14. Select a location on your computer where you want to save the photo.
15. At Name, you type a name for the photo.
16. Click on the Export button.
A “Export Image as PNG” or “Export Image as JPG” window will appear with a few optional options.
17. Click on the Export button.
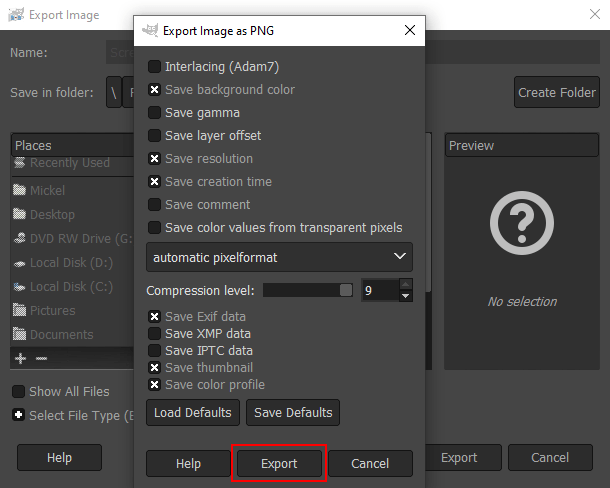
GIMP will now save the photo.