How to give a USB drive a permanent drive letter in Windows
Learn how to give a external hard drive or USB flash drive a permanent drive letter in Windows 10 and 11 without using an extra program.
You can change the drive letter of a USB drive and assign the drive letter as a permanent drive letter using a tool called Disk Management, a tool that's already built into Windows 10 and 11.
Assign a permanent drive letter to a USB drive
1. Insert the USB drive from which you want to change the drive letter into your PC.
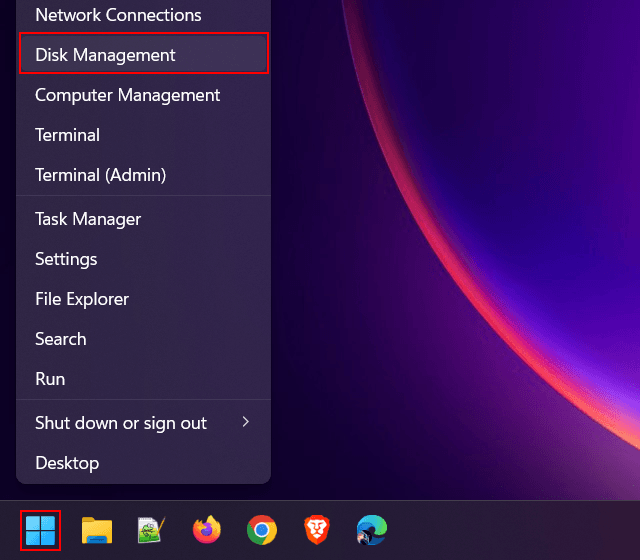
2. Right-click on the Windows start menu button.
3. Click Disk Management.
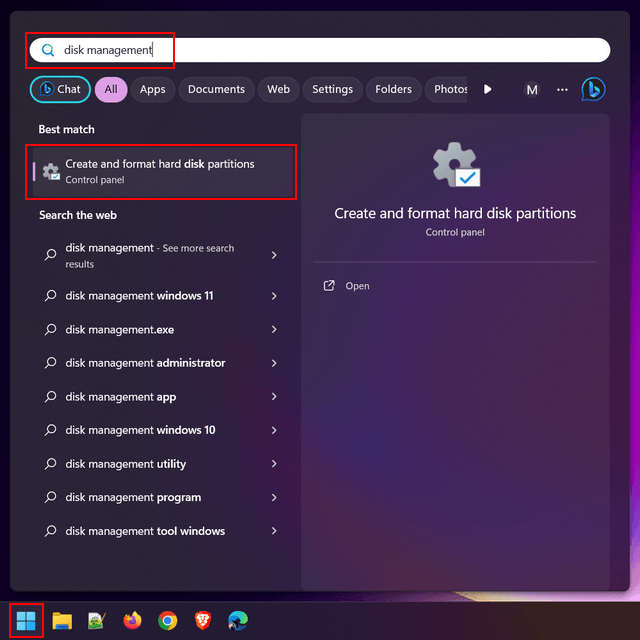
You can also open Disk Management by clicking the Windows start menu button, typing disk management, and then clicking Create and format hard disk partitions when it appears.
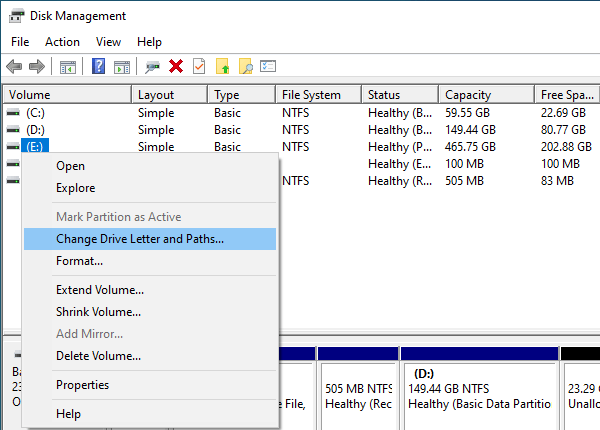
4. Right-click on the USB drive from which you want to change the drive letter.
5. Click Change Drive Letter and Paths.
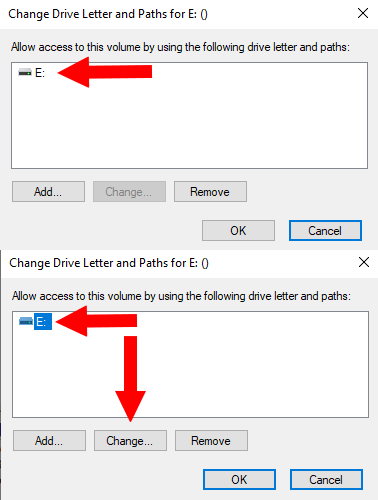
6. In the next window, you click the Change button.
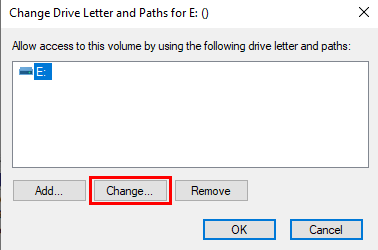
Note: If the Change button isn't working and greyed-out, you will have to click on the USB drive to select it.
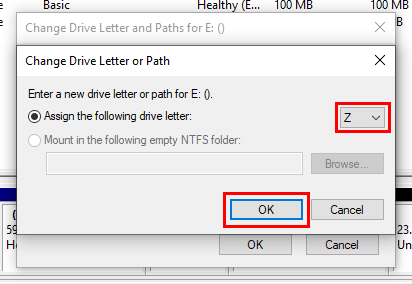
7. At Assign the following drive letter, you click the selection menu button and select a drive letter between M and Z because the Microsoft Windows operating system rarely uses these drive letters.
8. When you're done selecting a drive letter, you click the OK button.
9. Now you will get the following warning; Some programs that rely on drive letters might not run correctly. Do you want to continue?. Click Yes to continue.
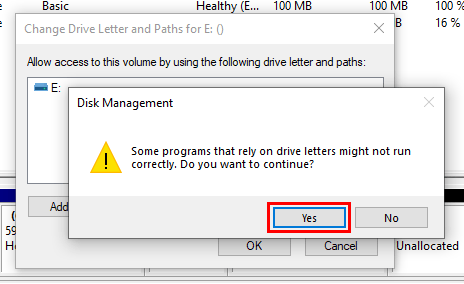
Windows will now assign the selected drive letter to the USB drive.
10. You can close Disk Management.
Whenever you plug the USB drive into your PC, it will get the drive letter you gave it.
What is a drive letter?
A drive letter is a single alphabetical character from A to Z, used to identify a physical drive or partition on a computer.
Why a permanent drive letter?
If you're using multiple USB drives, you've probably noticed that the drive letter can vary each time you connect a USB drive to your PC. Microsoft Windows will automatically assign a drive letter to any USB drive you connect to your PC.
However, because Windows assigns a drive letter automatically, it may cause issues with certain software, such as backup software. Backup software needs the same drive letter each time you connect the USB drive you use for backups to your PC.
Therefore, if you're using software that requires a permanent drive letter every time you plug in a USB drive, you'll need to assign a permanent (static) drive letter to your USB drive.
What is Disk Management in Windows 10 and 11?
Disk Management allows users to view and manage internal and external hard drives or USB flash drives connected to their Windows PC. Users can use Disk Management to partition and format drives, assign drive letters, and perform advanced storage tasks such as initializing a new drive and extending or shrinking volumes.